Kawasaki Ninja ZX-7R Restoration
A complete mechanical and cosmetic overhaul
Introduction
The Kawasaki Ninja ZX-7R is an icon of 90s engineering. This was my fathers bike, bought new in 1998, ridden and loved until it was parked in a garage in 2006. After 20 years of sitting idle, it's time to bring it back to life. This project isn't just about restoring a motorcycle; it's about preserving a piece of history and learning the intricacies of mechanical engineering along the way.
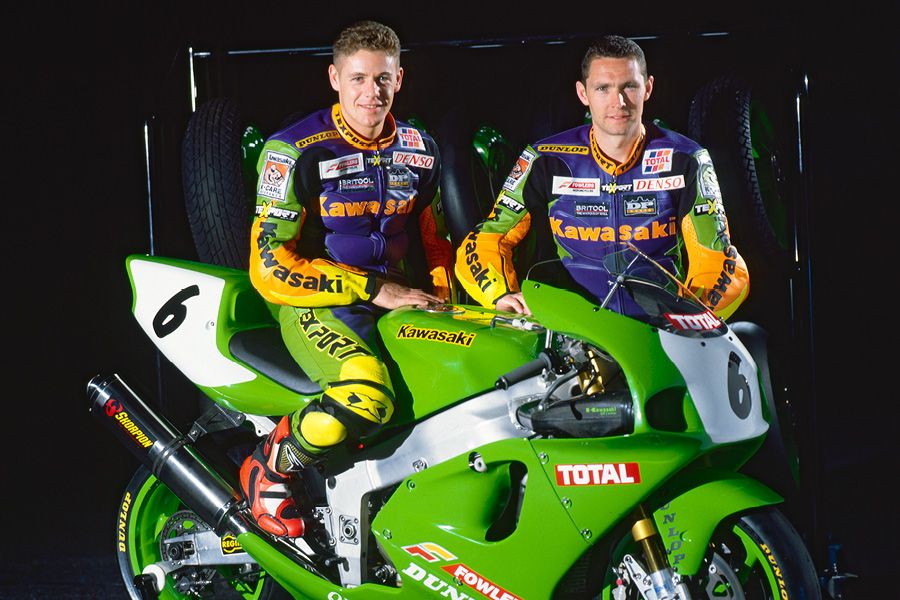
This bike was used from 1989 through to 2002 in the British Superbike Championship, ridden by legends like Scott Russell and Aaron Slight.

The bike after its first wash, after having been covered for 20 years. The front wheel was seized due to corrosion, so it required significant work to move it for the first time.
The Plan
The goal is a full mechanical restoration to bring the bike back to road-worthy condition. The roadmap involves a complete inspection and overhaul of every part I can. My plan is to remove as many components as possible, clean and refurbish them, and then reassemble the bike with new fluids, gaskets, and any worn-out parts replaced. This will include engine diagnostics, carburetor cleaning, frame inspection, and addressing any rust or corrosion issues. In order to not waste time or money, I will be prioritising the most critical components first, such as the engine and fuel system, before moving on to cosmetic or non-essential parts. This ensures any major issues are identified early on, allowing me to adjust the plan as needed and avoid unnecessary work on parts that may not be salvageable.

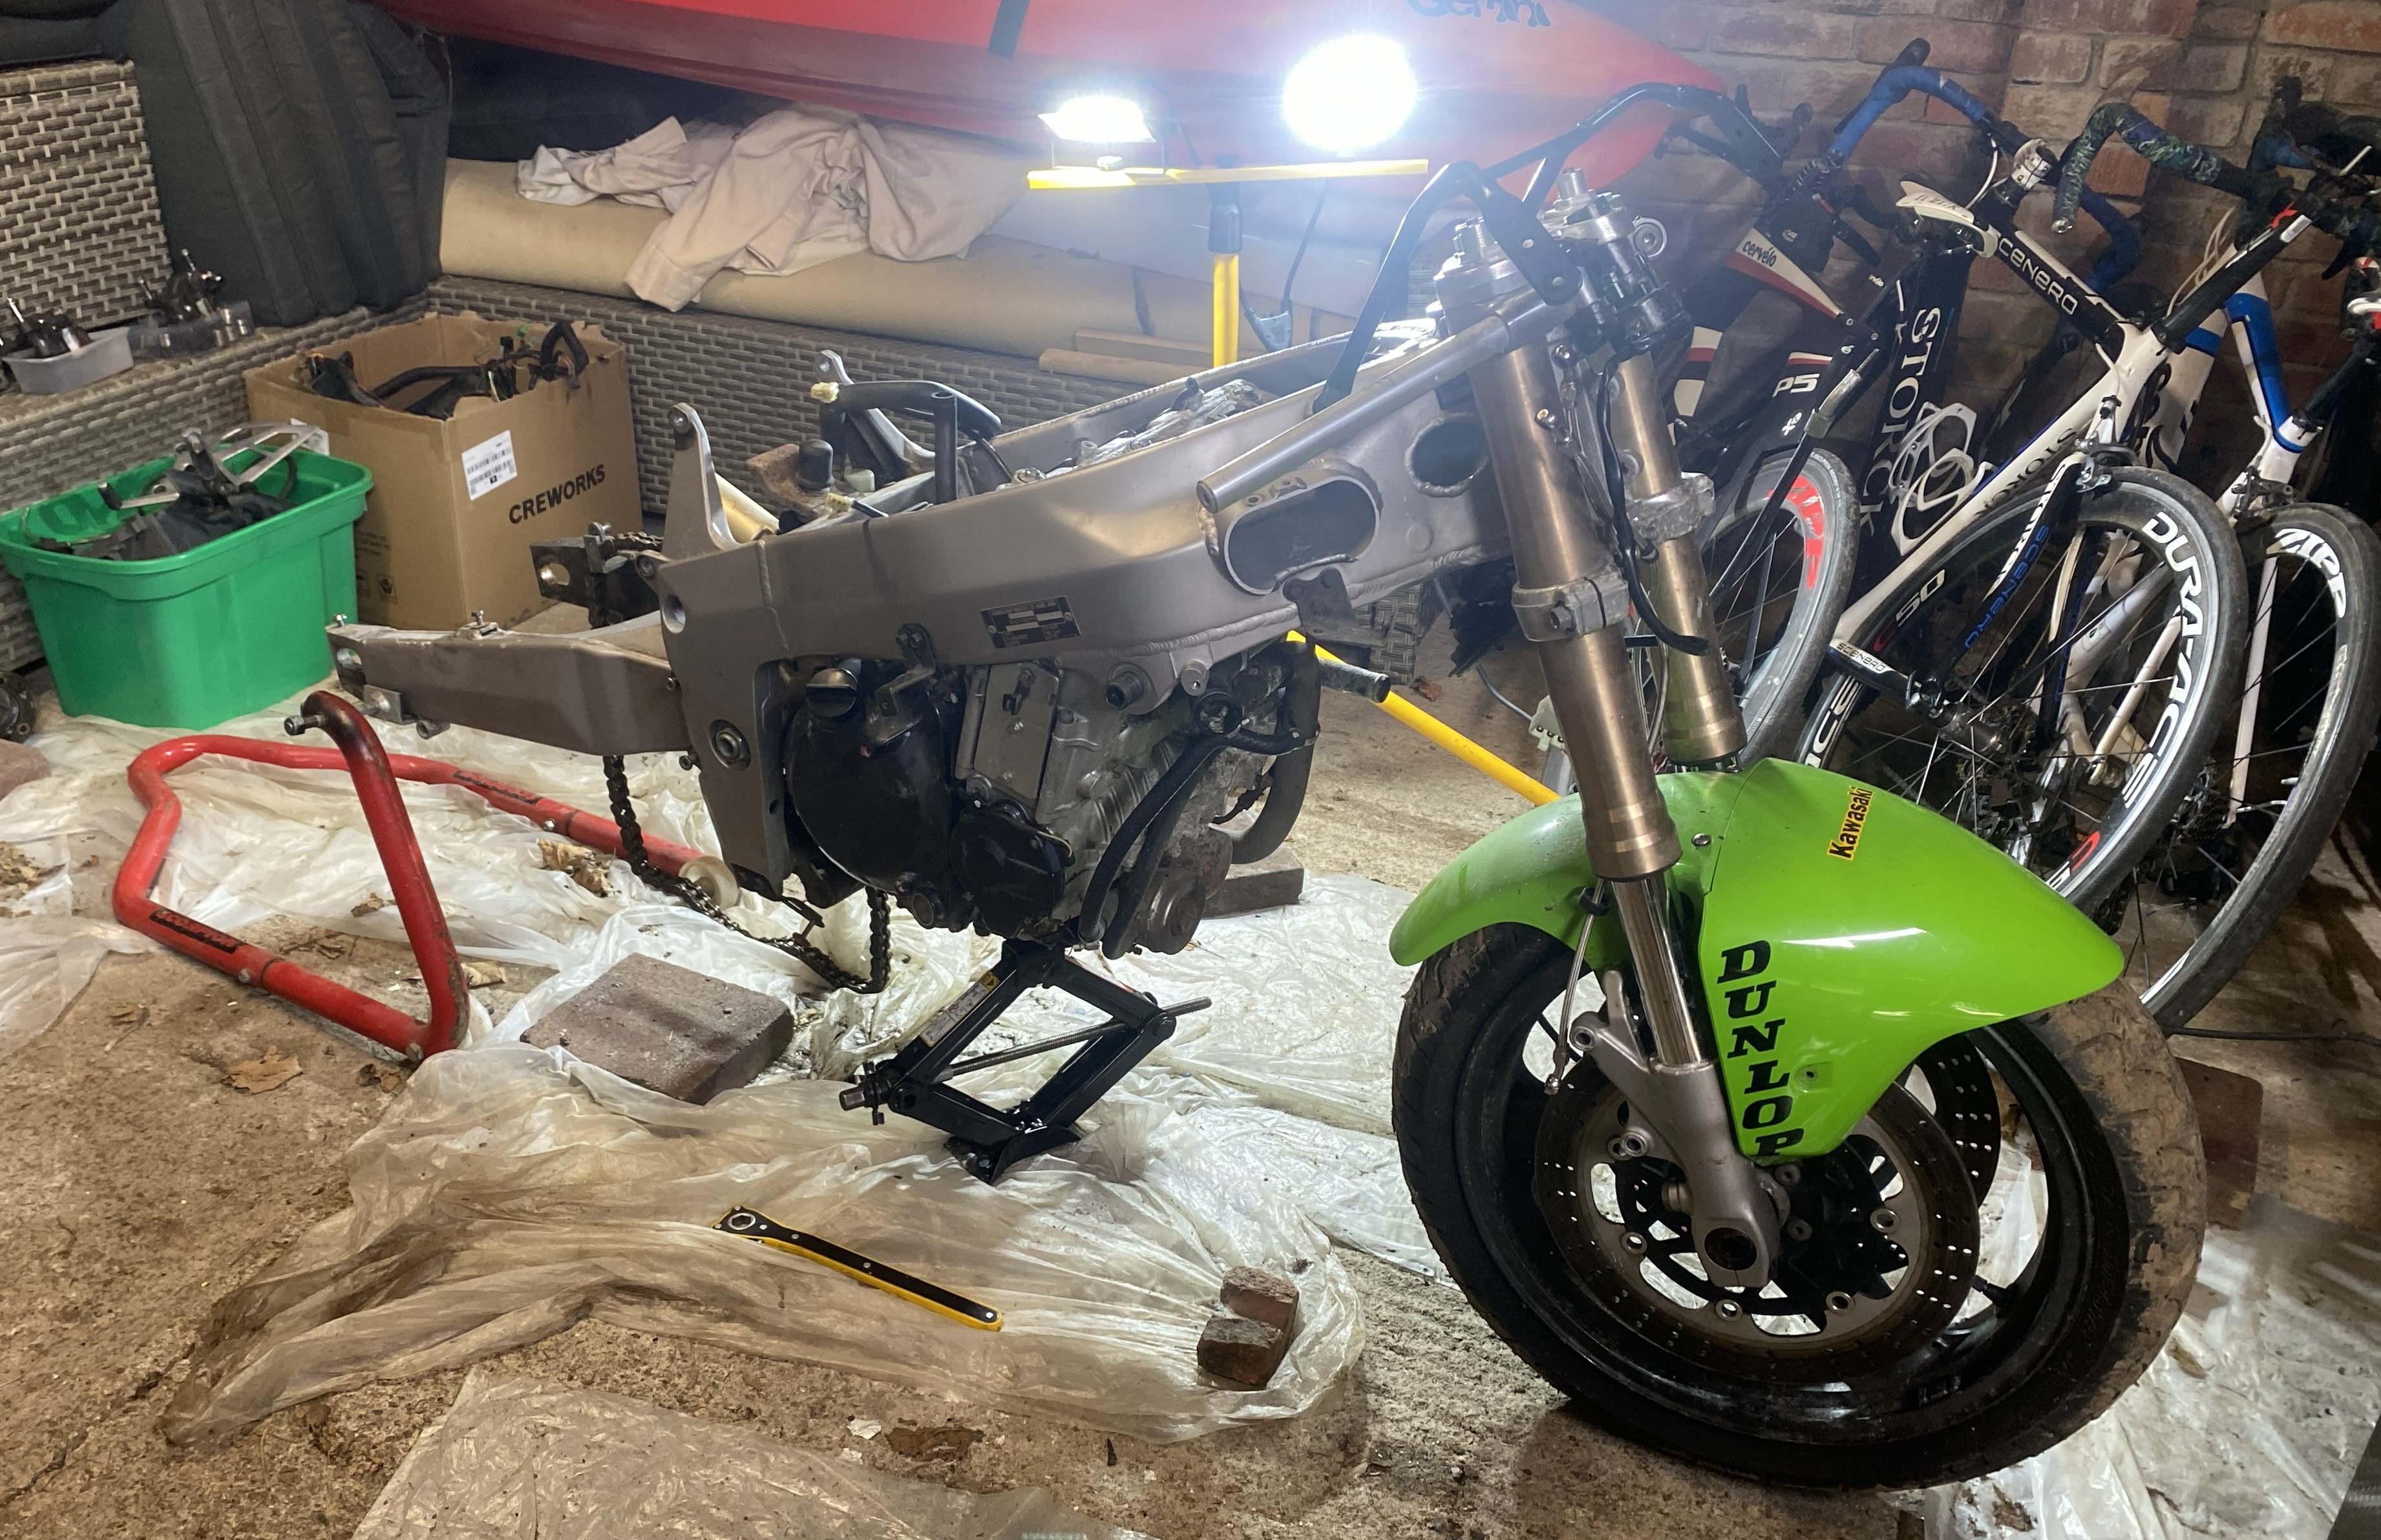
The bike without the front end on.
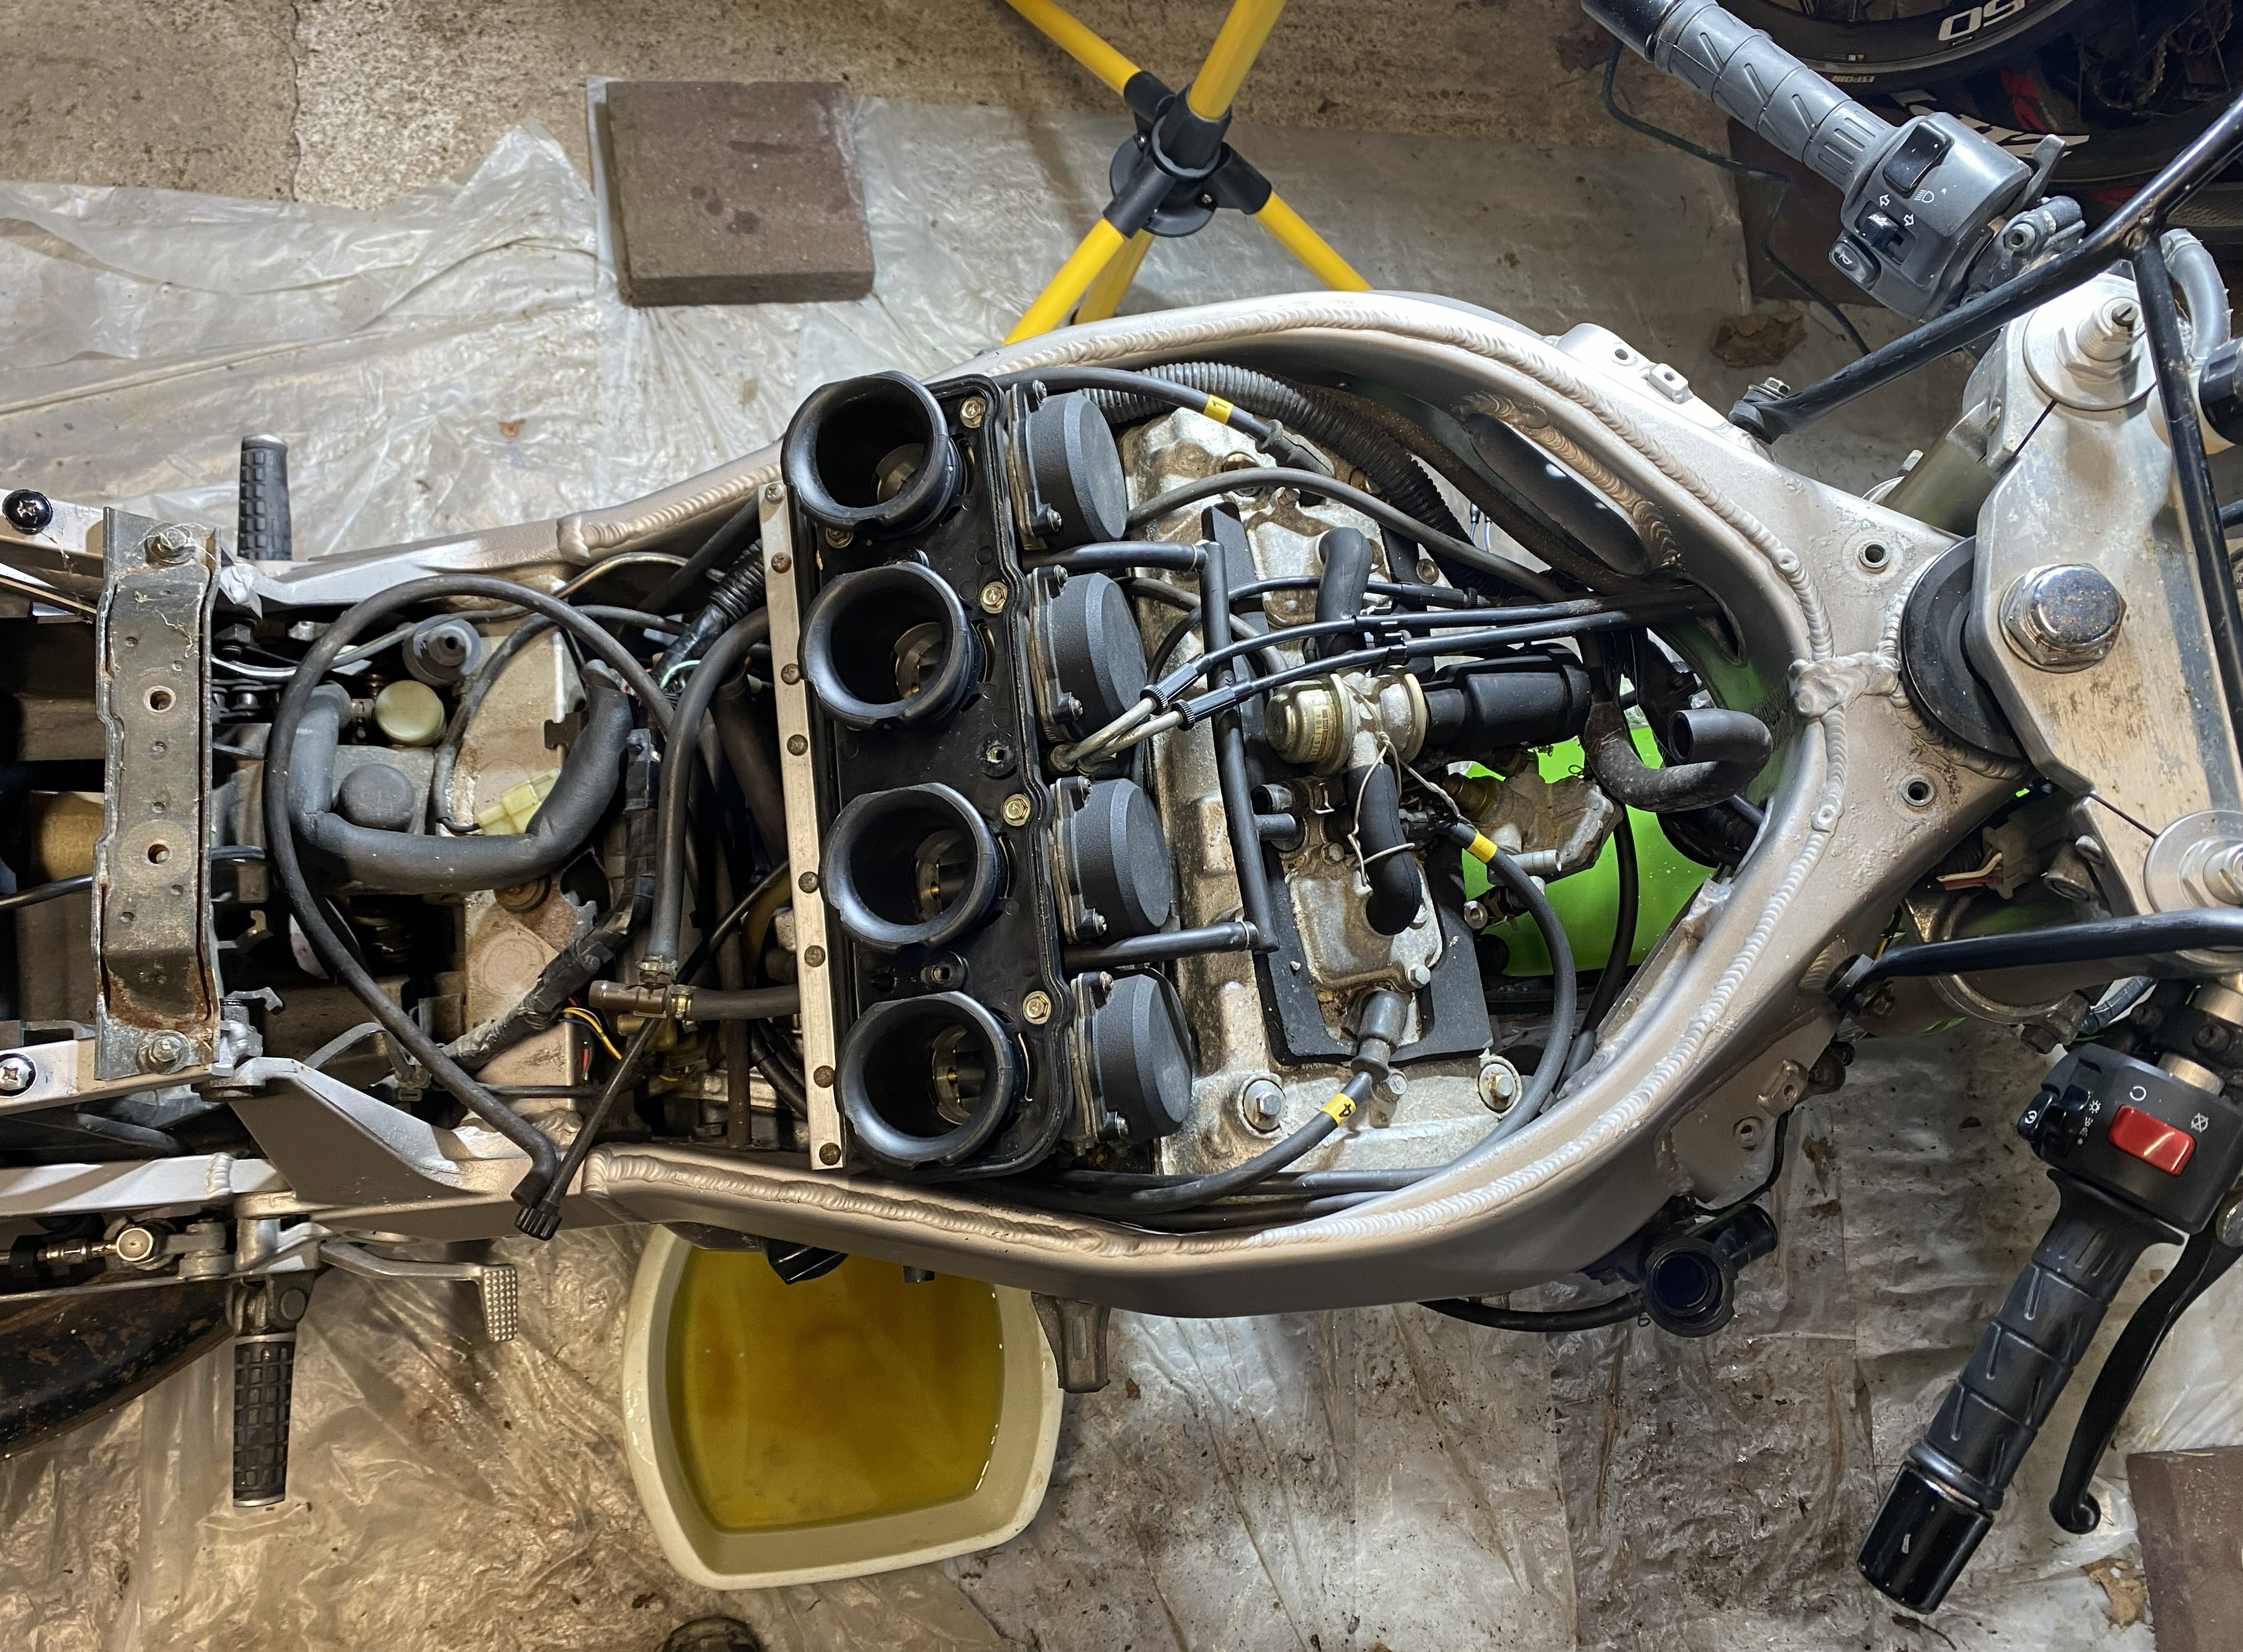
Fuel tank off and carbs exposed to the air for the first time in 20 years.

I had the Haynes manual for difficult steps.
Progress So Far
- Fairing Removal: The fairings have been successfully removed, cleaned, and stored.
- Brakes: Overhaul of both front and rear brakes, since the pistons were severly pitted. Original calipers and brake lines were kept, everything else was replaced with new parts to ensure safety. I have also had to completely dismantle the brake levers and actuators to clean them of old brake fluid and rust. I gave them a re-spray of black paint to keep them looking fresh for years to come.
- Electrics: Completely removed all of the wiring harnesses and connections, making access to the engine easier.
- Frame: Stripped as many components from the frame as I could (some are too rusted to remove easily), these include footpegs, mudguards, the subframe, etc.
- Carburetors: These have been removed from the bike, awaiting an overhaul and re-tune.
- Exhaust System: This is a notoriously rust-prone component of the ZX-7R, I have removed it from the bike, splitting the muffler from the header pipes. I plan on either sanding this down by hand or using a media blaster to restore it.
- Rear Wheel & Final Drive: I have removed the rear wheel, axle, adjustable chain tensioner, and front sprocket. I have tried my best to find a quicklink on the chain, however it seems to be a rivet link chain.
- Instrument Cluster: One of the most protected components, therefore all it really needed was a good clean and re-spray of the metal to protect it from corrosion.
- Cooling System: I have removed the radiator and fan, thermostat, and most of the coolant pipes. These are some of the worst looking components on the bike; covered in white rust, corroded and clogged by old coolant. I have restored the thermostat housing and made sure that the thermostat is functioning correctly, however the main chunk of the system remains to be tended to.
- Engine: The most important part of the bike, and unfortunately the area where I've encountered the biggest challenge. At the current moment the engine turns over well by hand, indicating that it is most likely in good condition. When I tried to remove the mounting bolts for the engine the front two came out fairly smoothly, however the rear bolts would not budge in the slightest. I tried everything that both me and the bike shop could think of to loosen them; using a hammer and a blowtorch, twisting using a breaker bar, spraying it with copious amounts of penetrating oil, all the while having it on a jack to relieve any tension on the bolts. I believe that due to the whole weight of the engine resting on these bolts since it came out of the factory, they have rusted together and cannot be separated. At the current moment, the bike shop have said they have a vacancy for the engine removal within the next week or so in order to drill the bolts out, and I think this is the last option I have left to get this engine out.
The bike as it stands now.
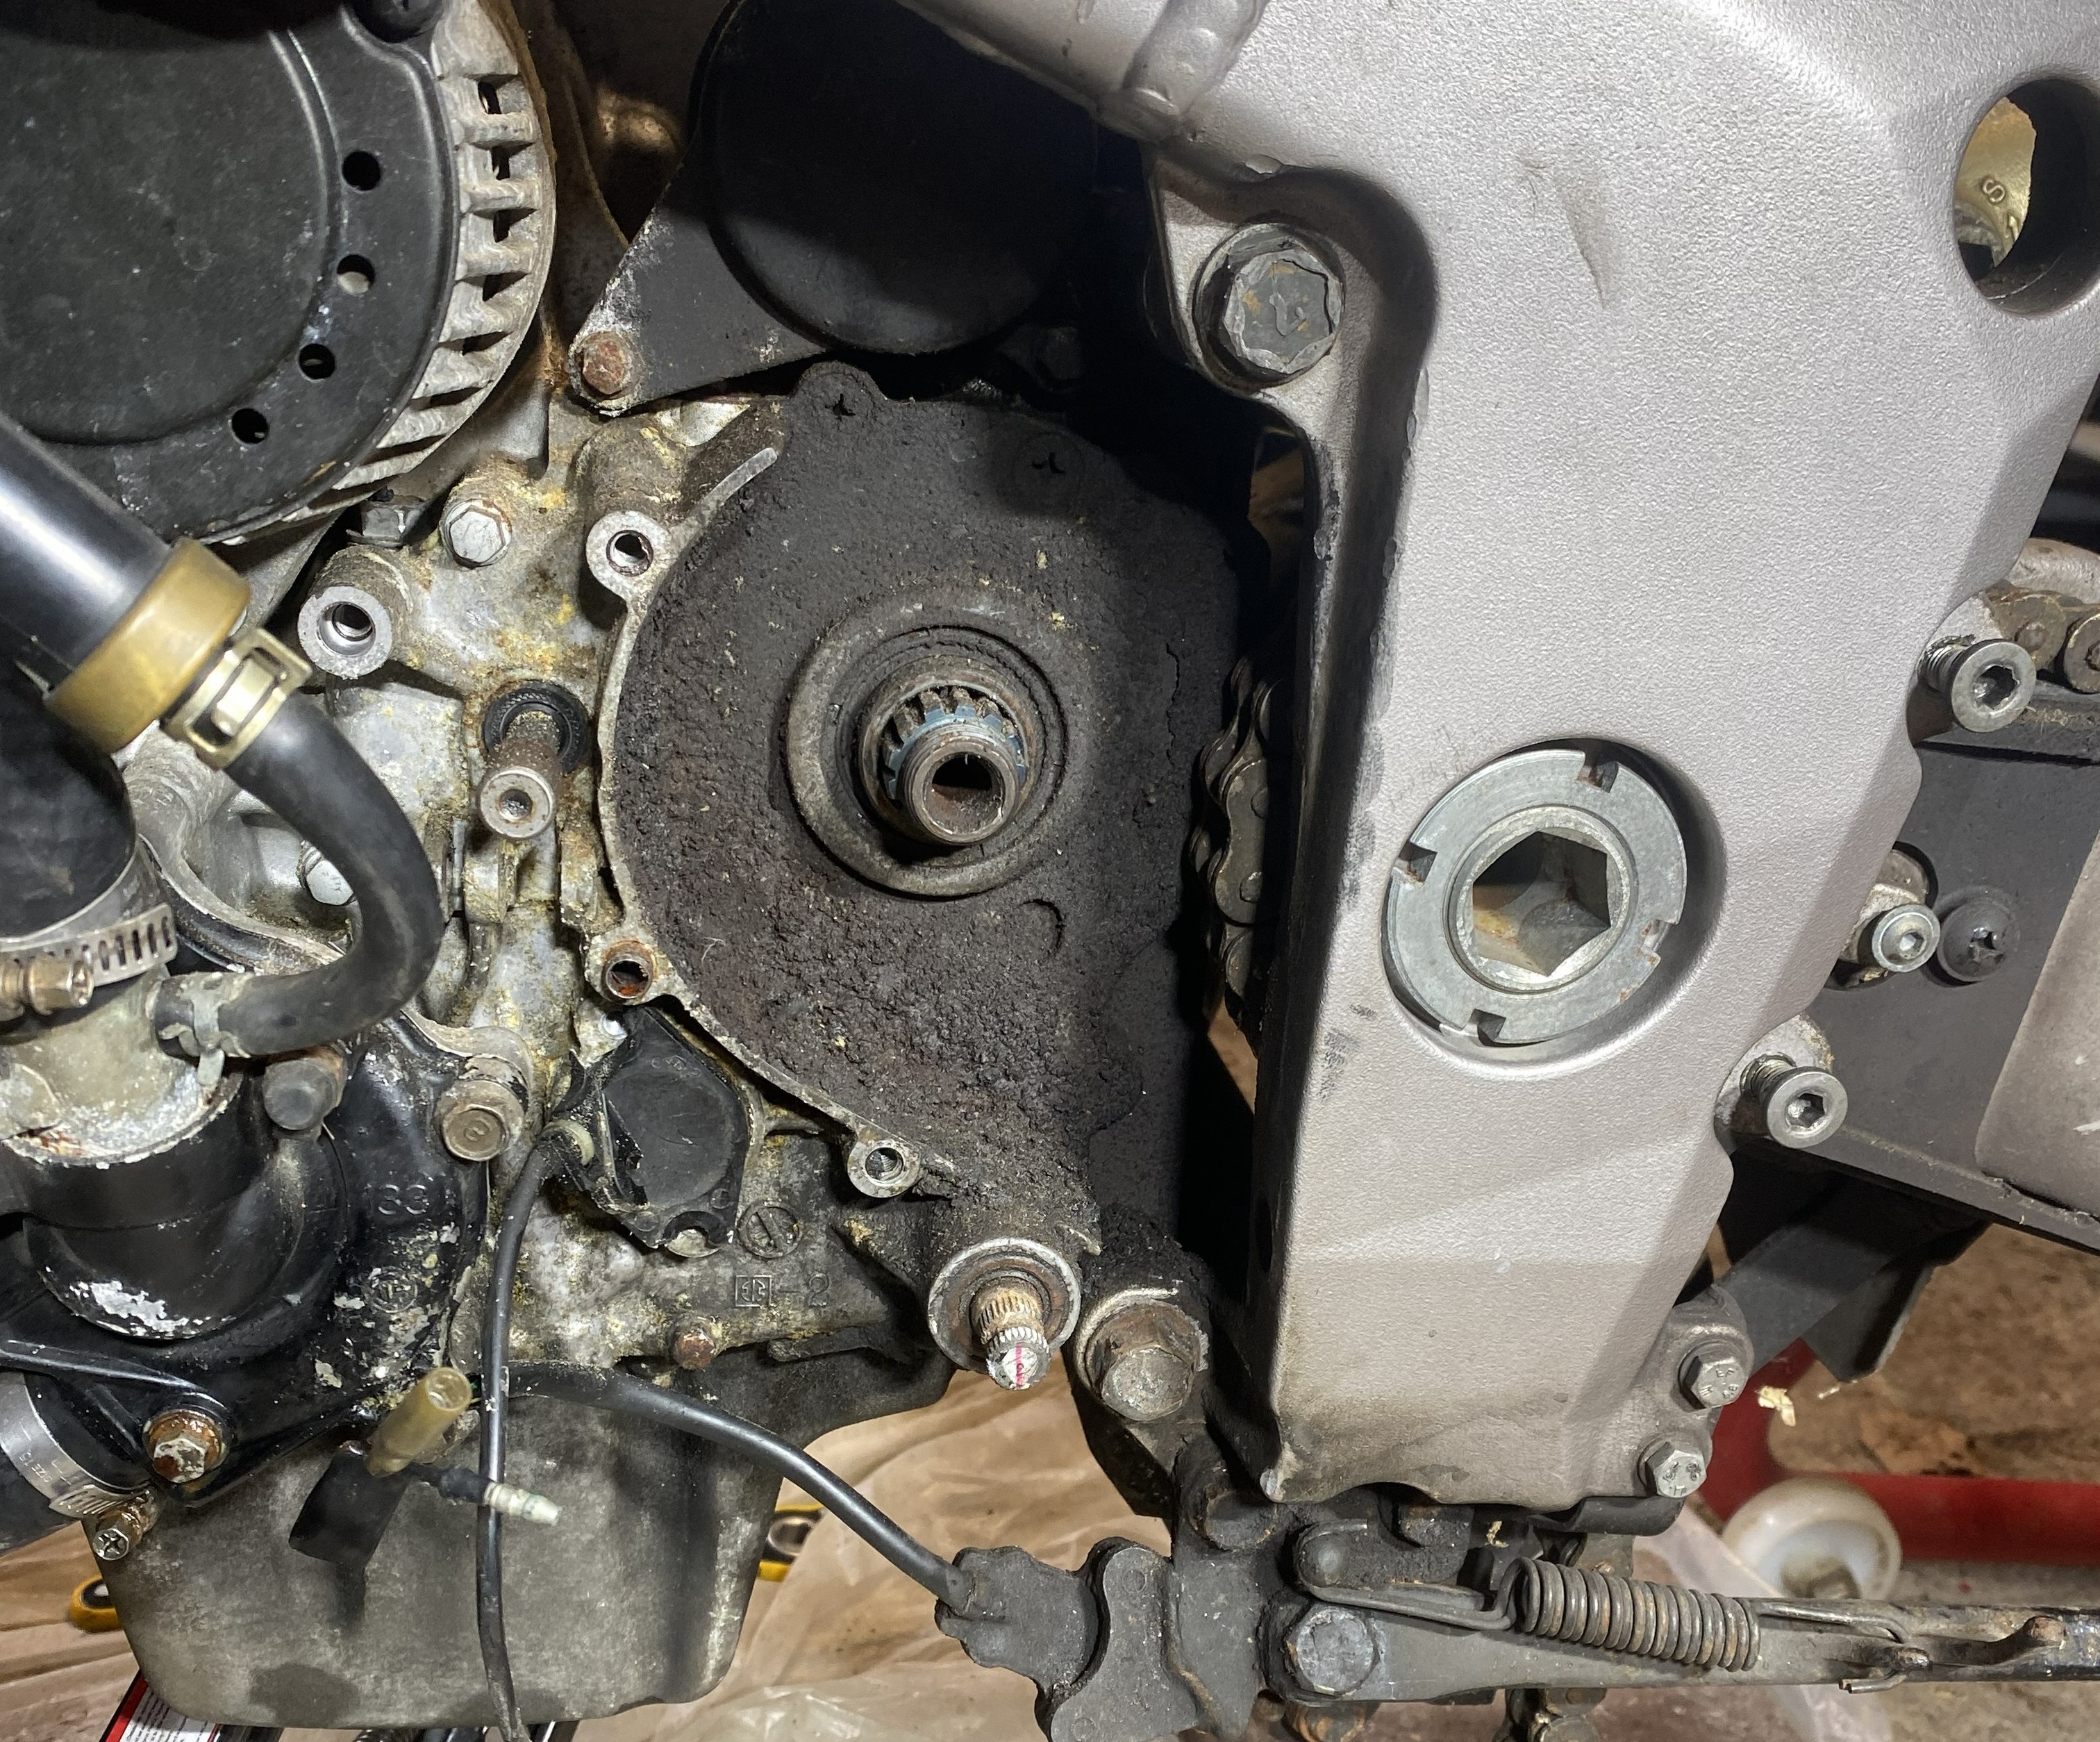
This picture shows the gunk and rust built up around the front sprocket area. The bolts through the left of the vertical part of the frame, with the '7' on, are the stubborn mounting bolts.
What I've Learnt
This project bridges the gap between my academic knowledge of engineering and real world applications of it. I've had to improvise and adapt my plan as I go, which has given me a chance to develop problem-solving skills and learn how to troubleshoot issues as they arise. I've also had to learn how to use a variety of tools and techniques for disassembly, cleaning, and restoration, which has bolstered my practical skill set. Also, this project has taught me the importance of patience and attention to detail, as restoring a motorcycle is a meticulous process which requires careful handling of each component to make sure everything is done correctly. Here are a few specific things I've done so far:
- Rust Removal: I have used a combination of sanding and chemical rust removers to clean the affected areas, the main chemical being citric acid.
- Priming and Painting: Any worn or damaged surfaces I have had to sand back, prime, and paint to restore their appearance and guard against further corrosion.
- Electroplating: I have had to electroplate certain components (mostly bolts) with zinc to restore their appearance and protect them from further corrosion.
- Component Replacement: I have replaced several worn or damaged components with new or refurbished parts to ensure the bike's performance and safety.
- Comprehensive Understanding: In order to make this restoration safe and successful, I have needed to understand the bike inside and out, along with the function, operation, and maintenance requirements of each system. This has been invaluable for learning more about internal combustion engines and automotive systems.
- Problem Solving: Some components have required creative solutions to remove or replace, due to their age or lack of availability. This has meant I have had to improvise solutions, such as creating custom fasteners or frankenstiening a combination of new and original parts to make sure they fit on the bike.
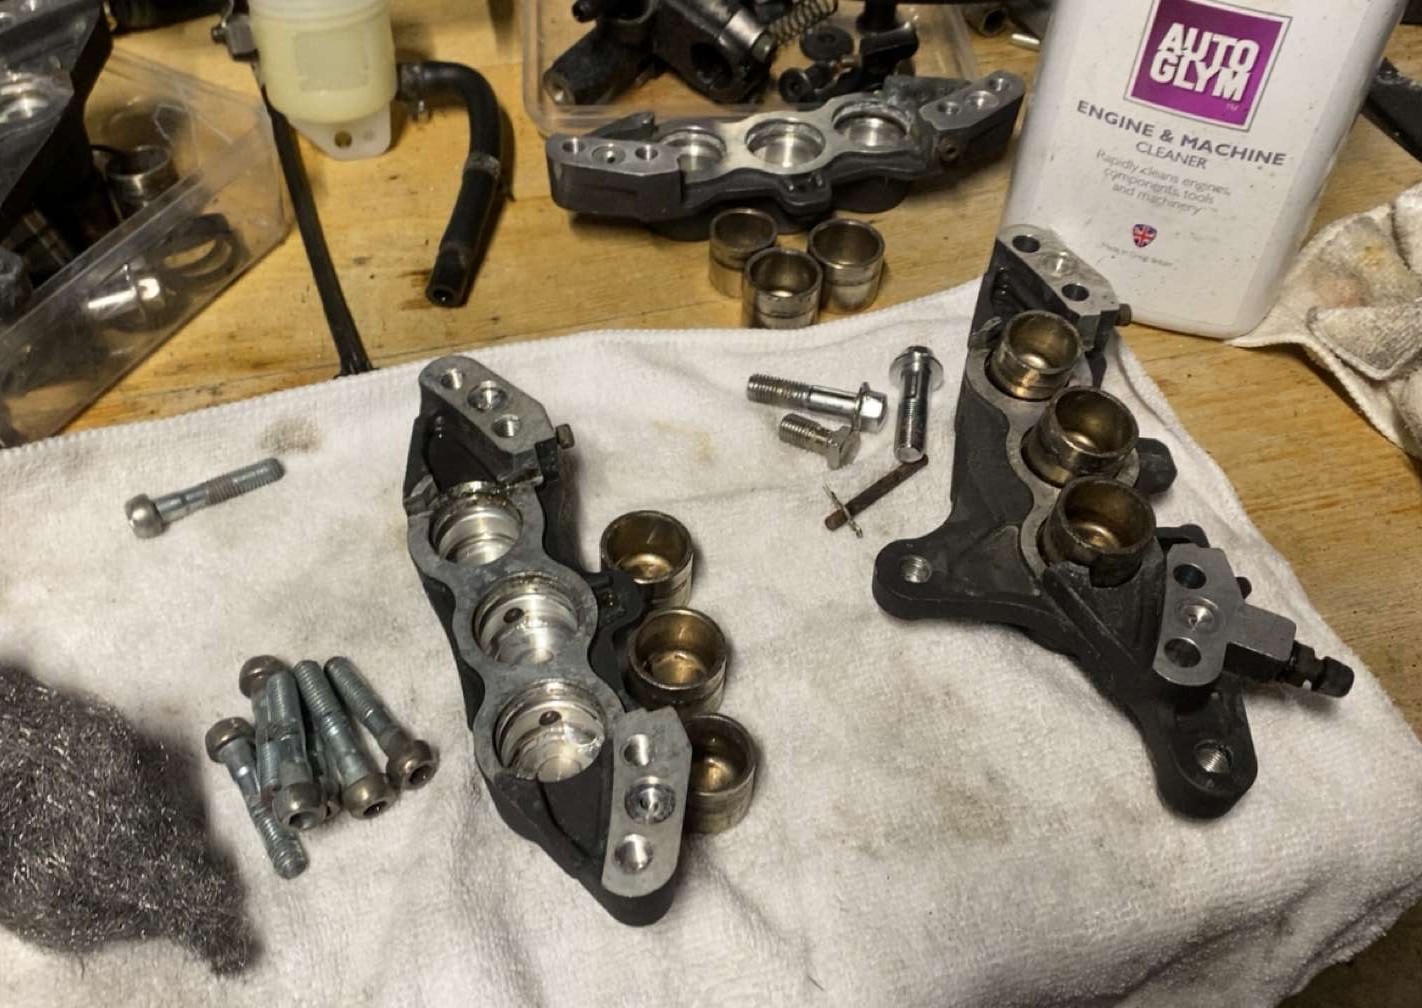
This is halfway through the brake restoration process, with the old pistons and seals removed.
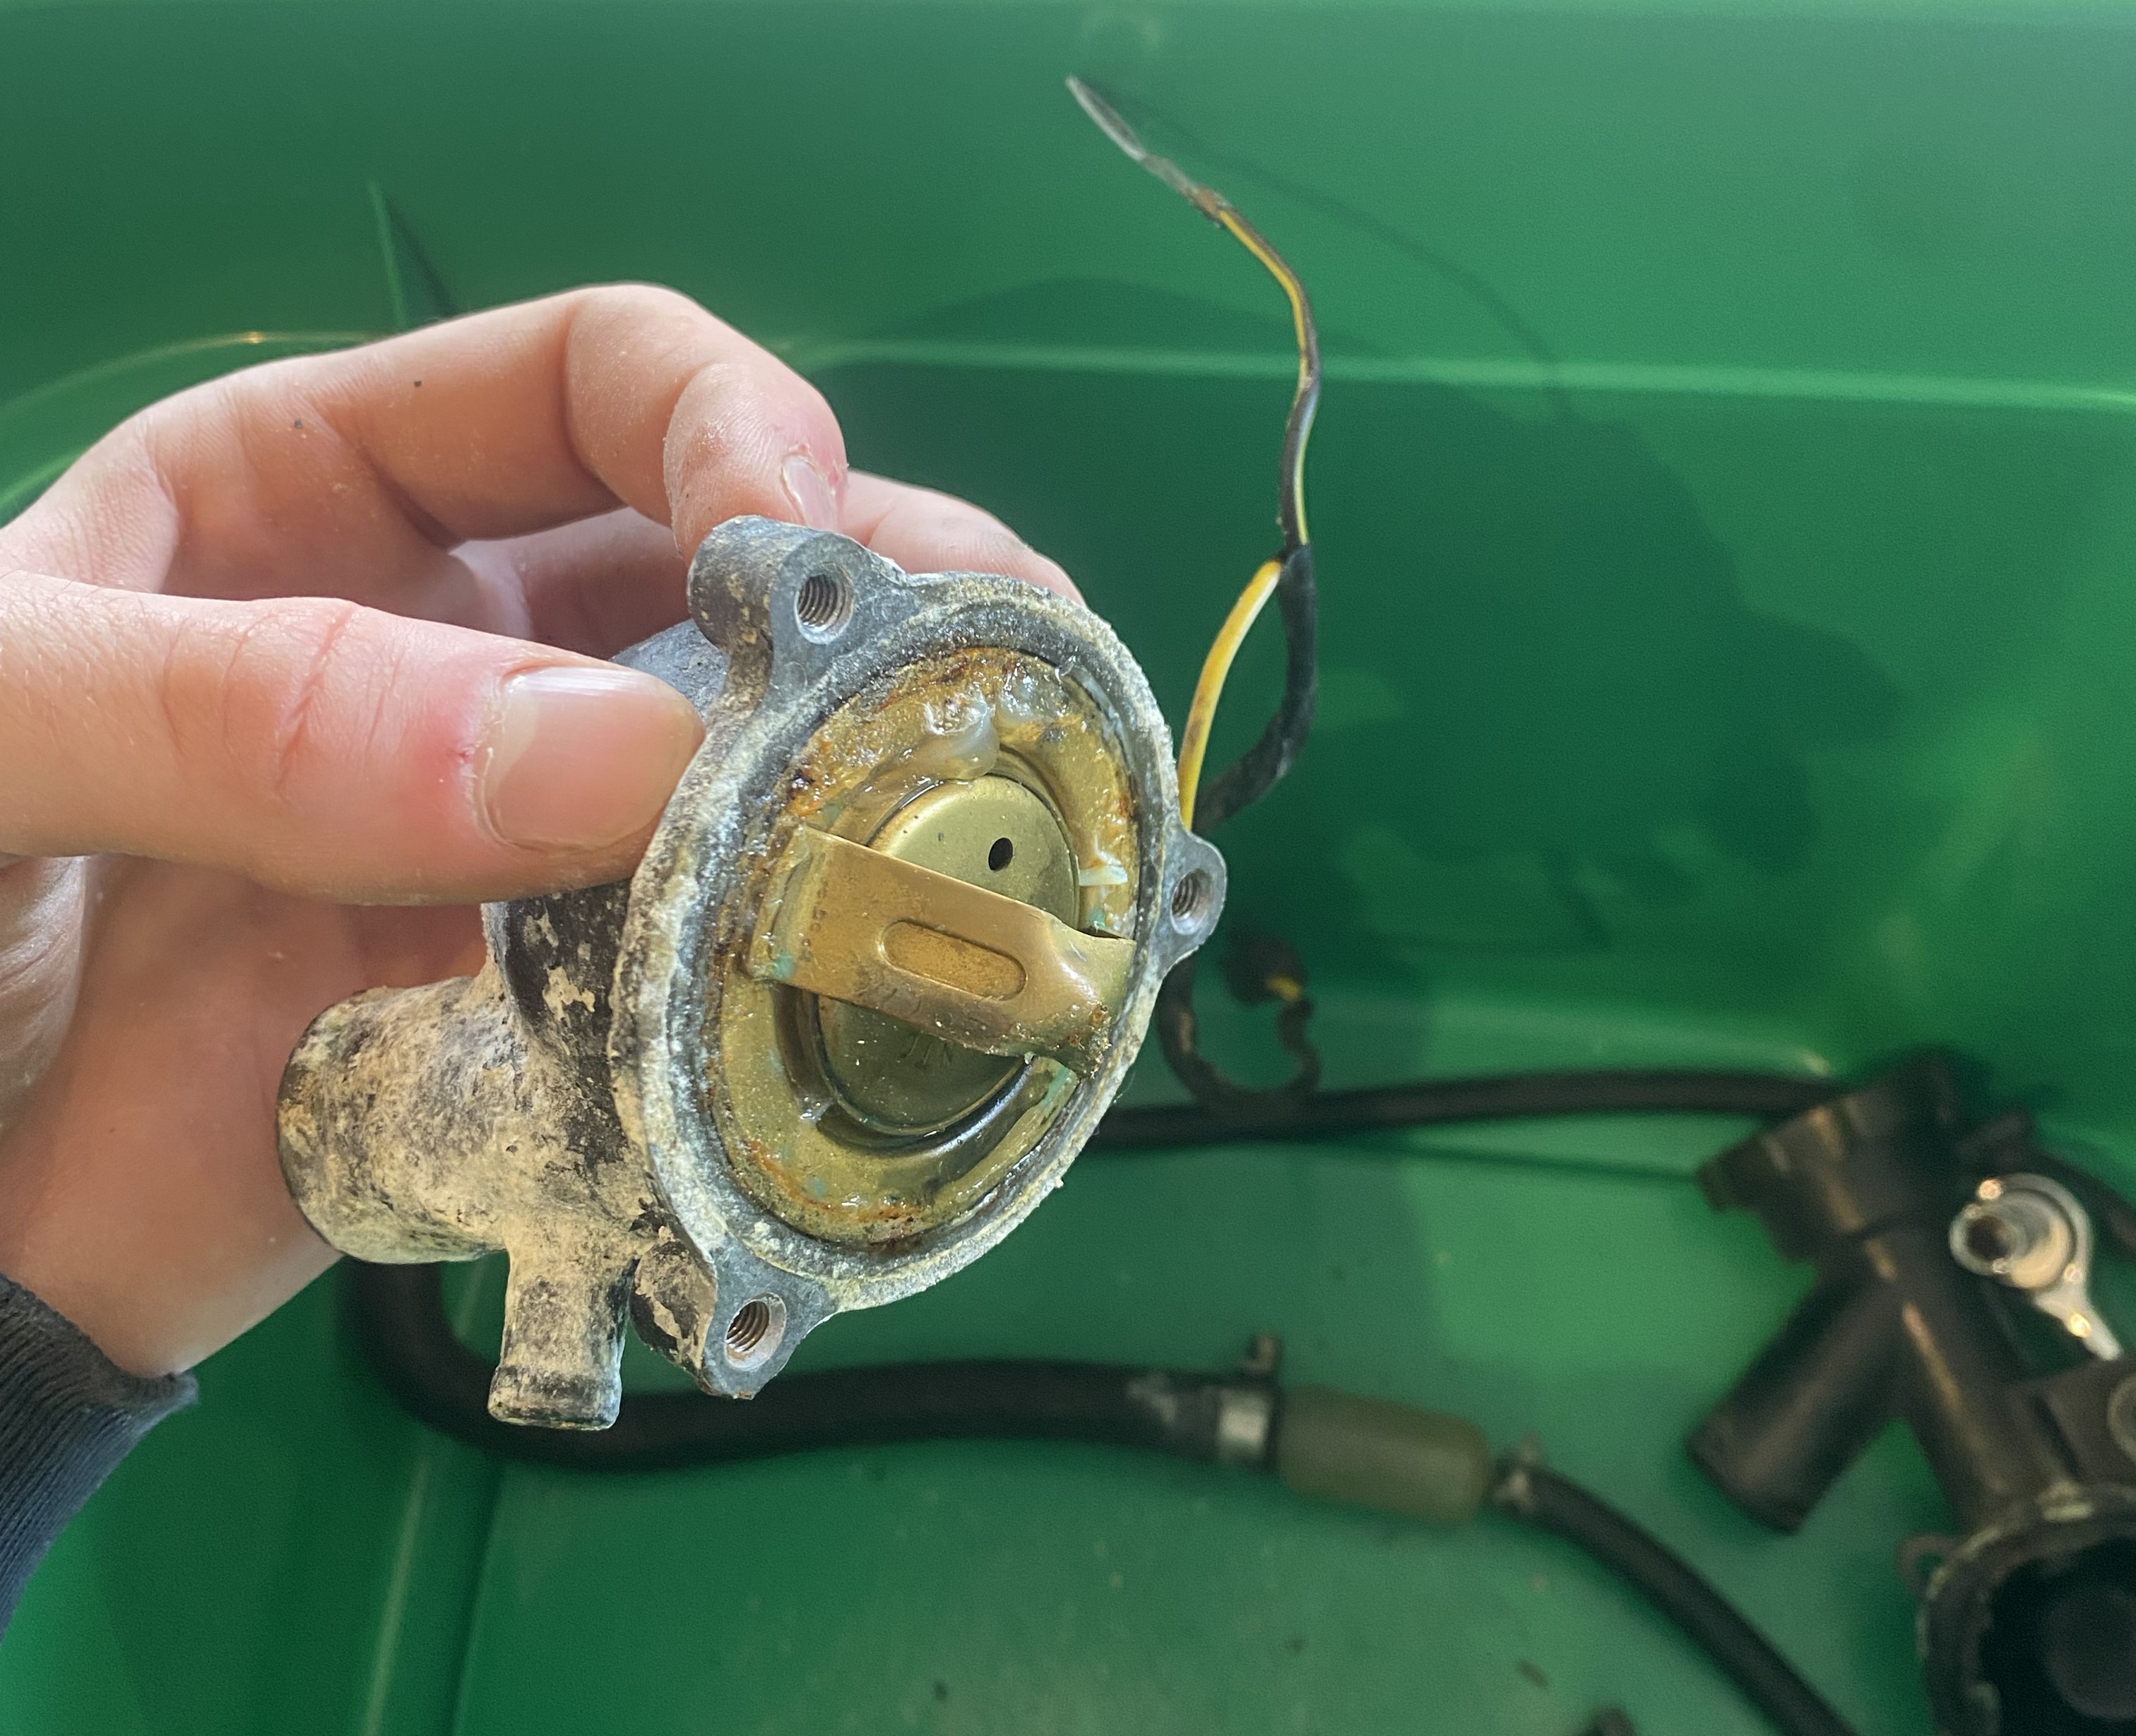
This shows just how dirty and rusted the thermostat and its housing are.
Photo Bank
Additional documentation, photographs, and behind-the-scenes progress.
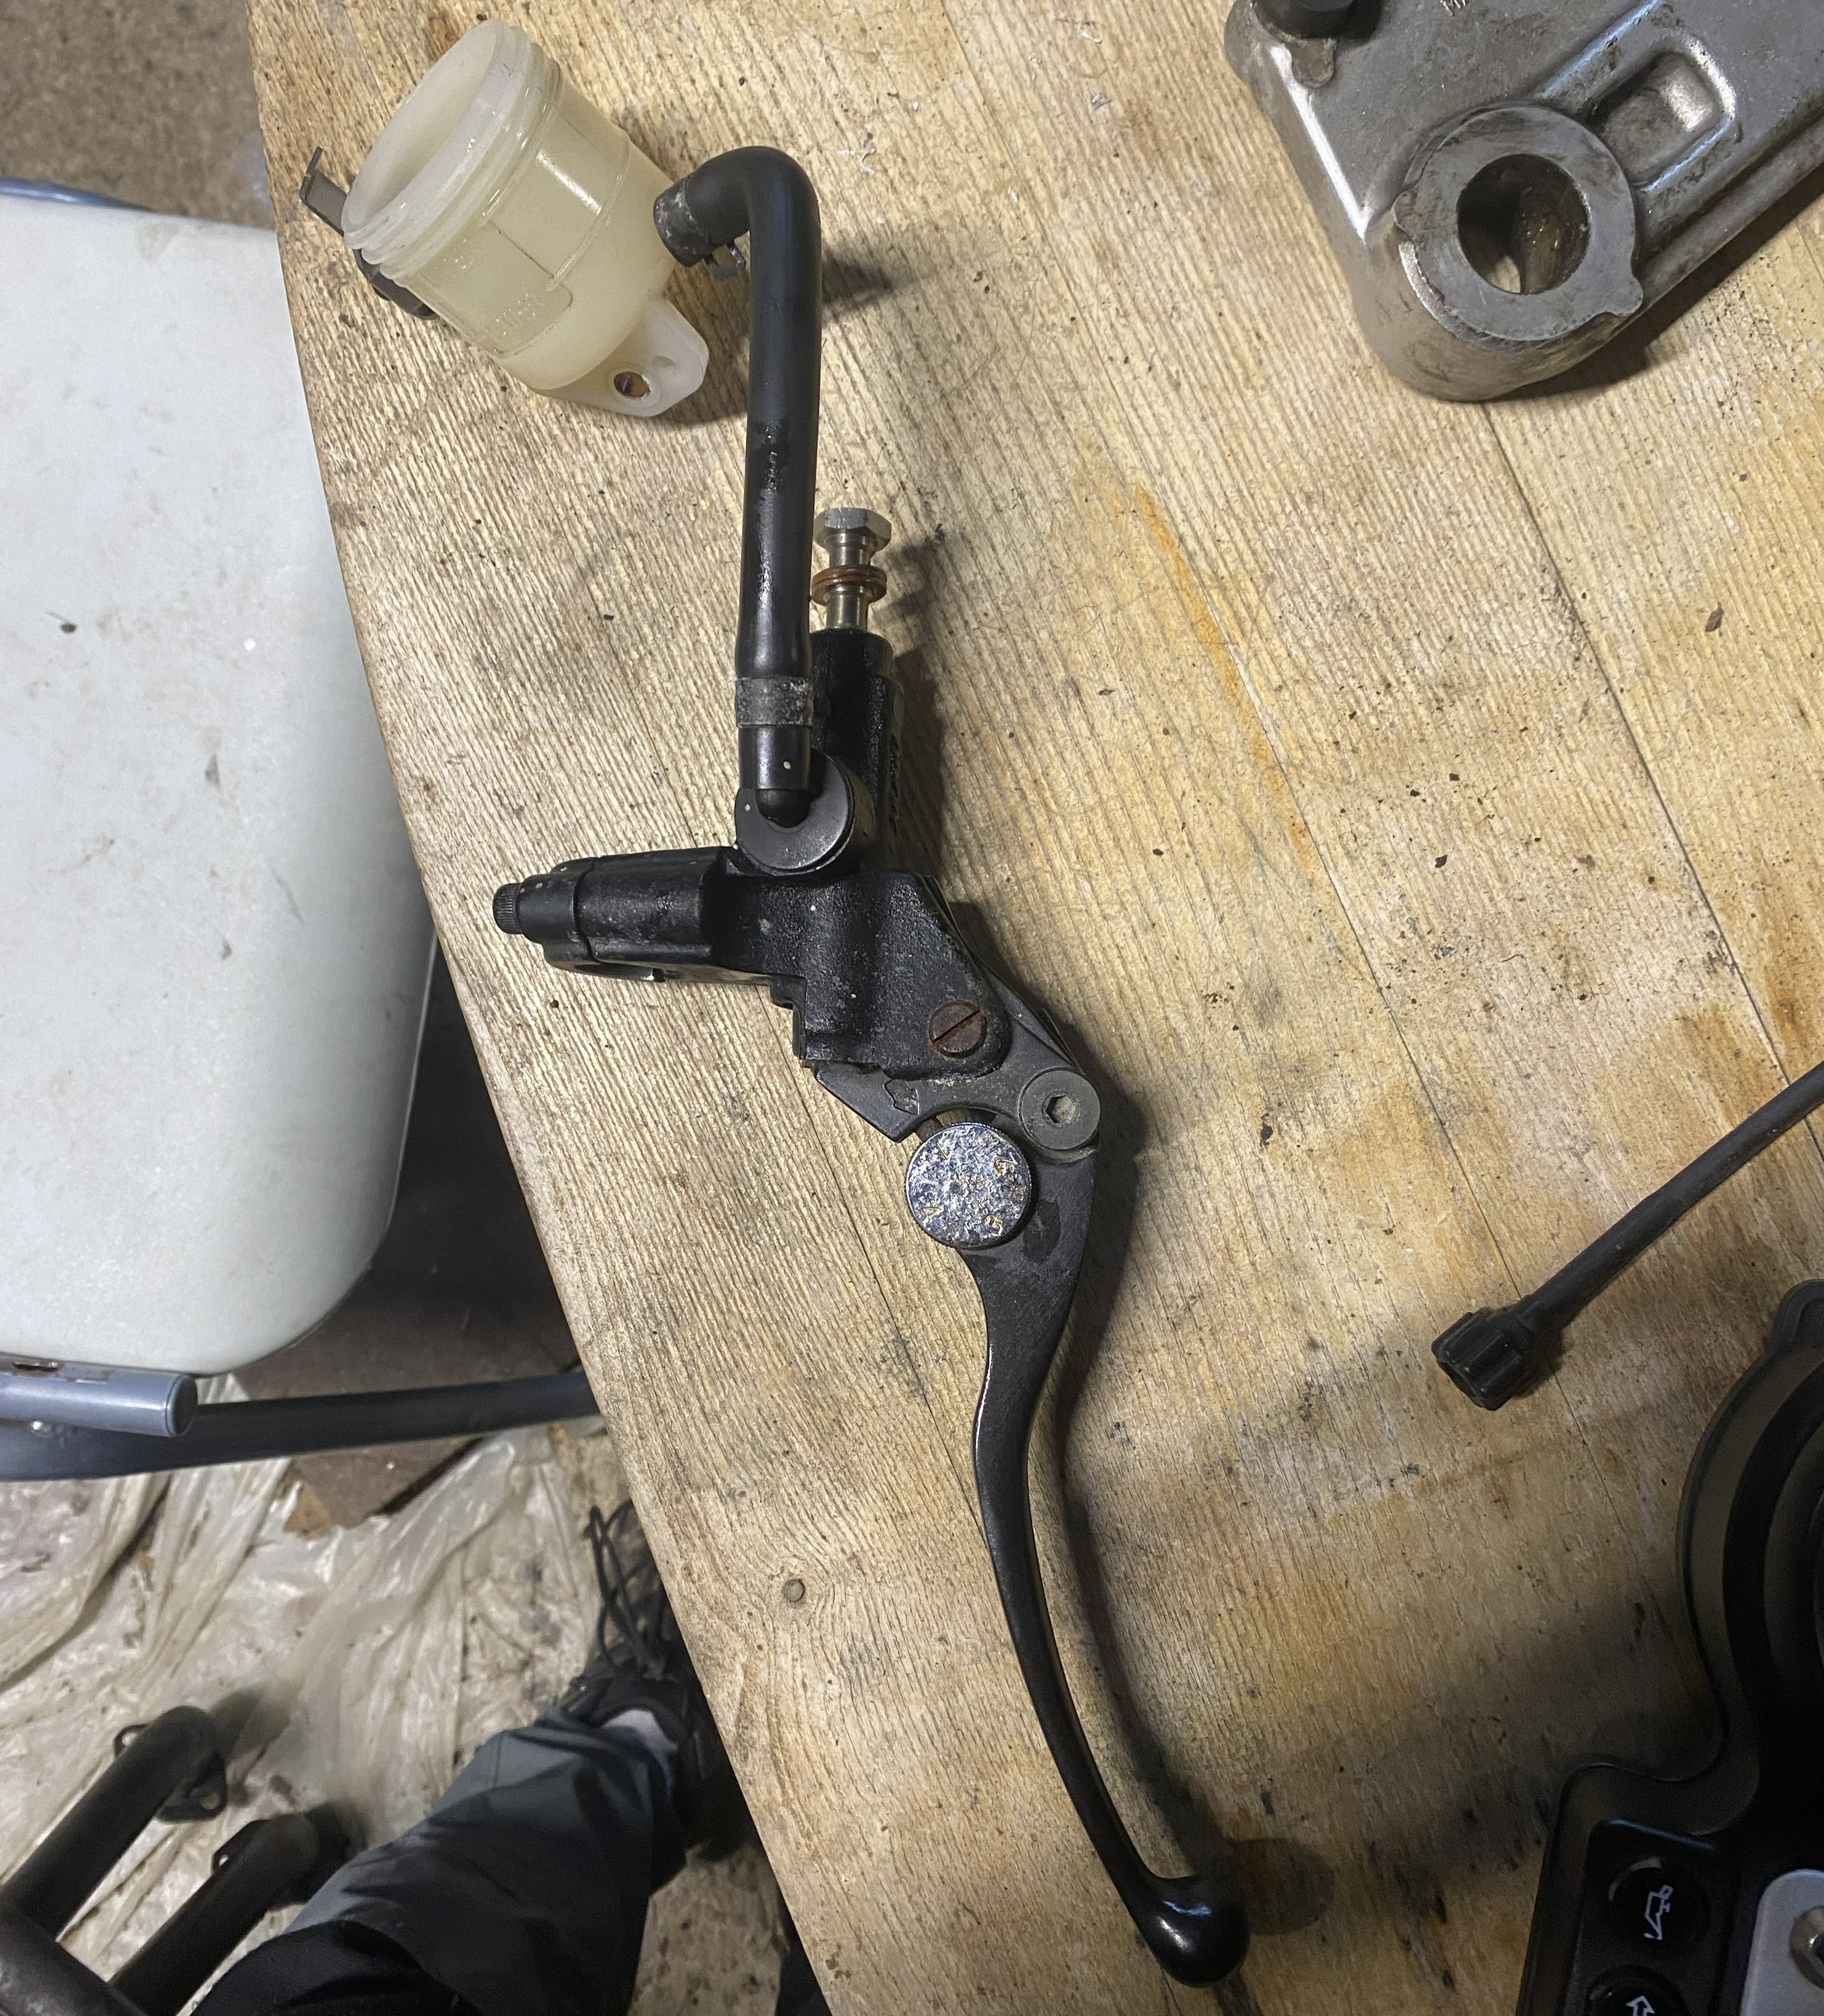
The front brake lever before restoration.
View of the rear plastic panel, showing just how rusty the bolts are.
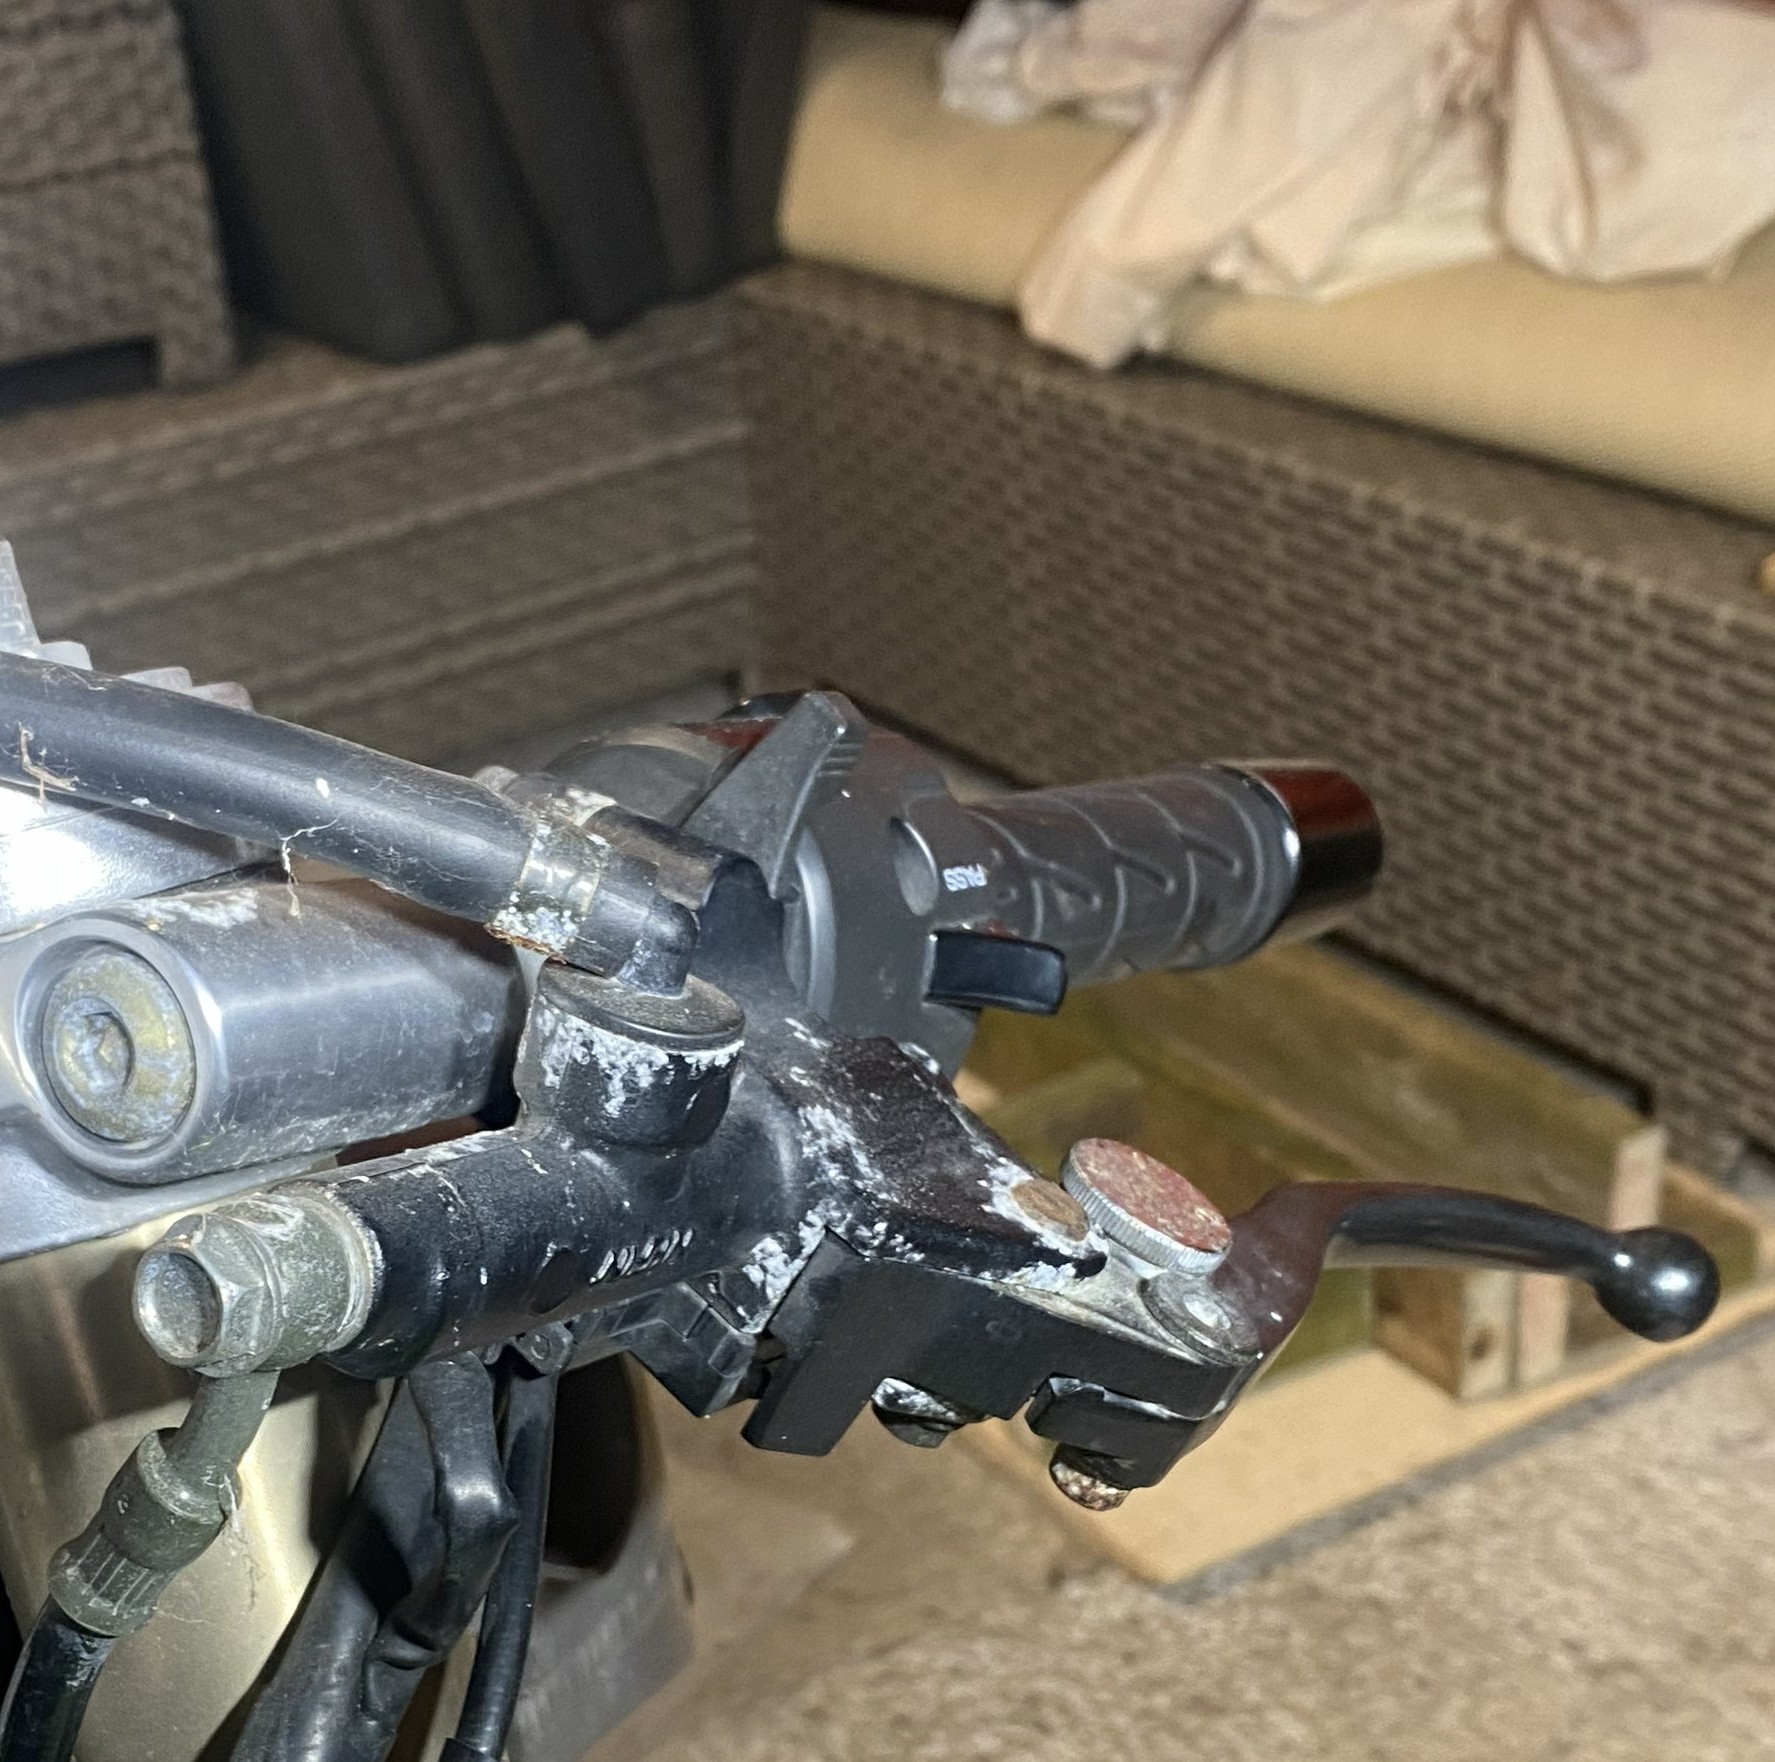
The clutch lever on the bike.
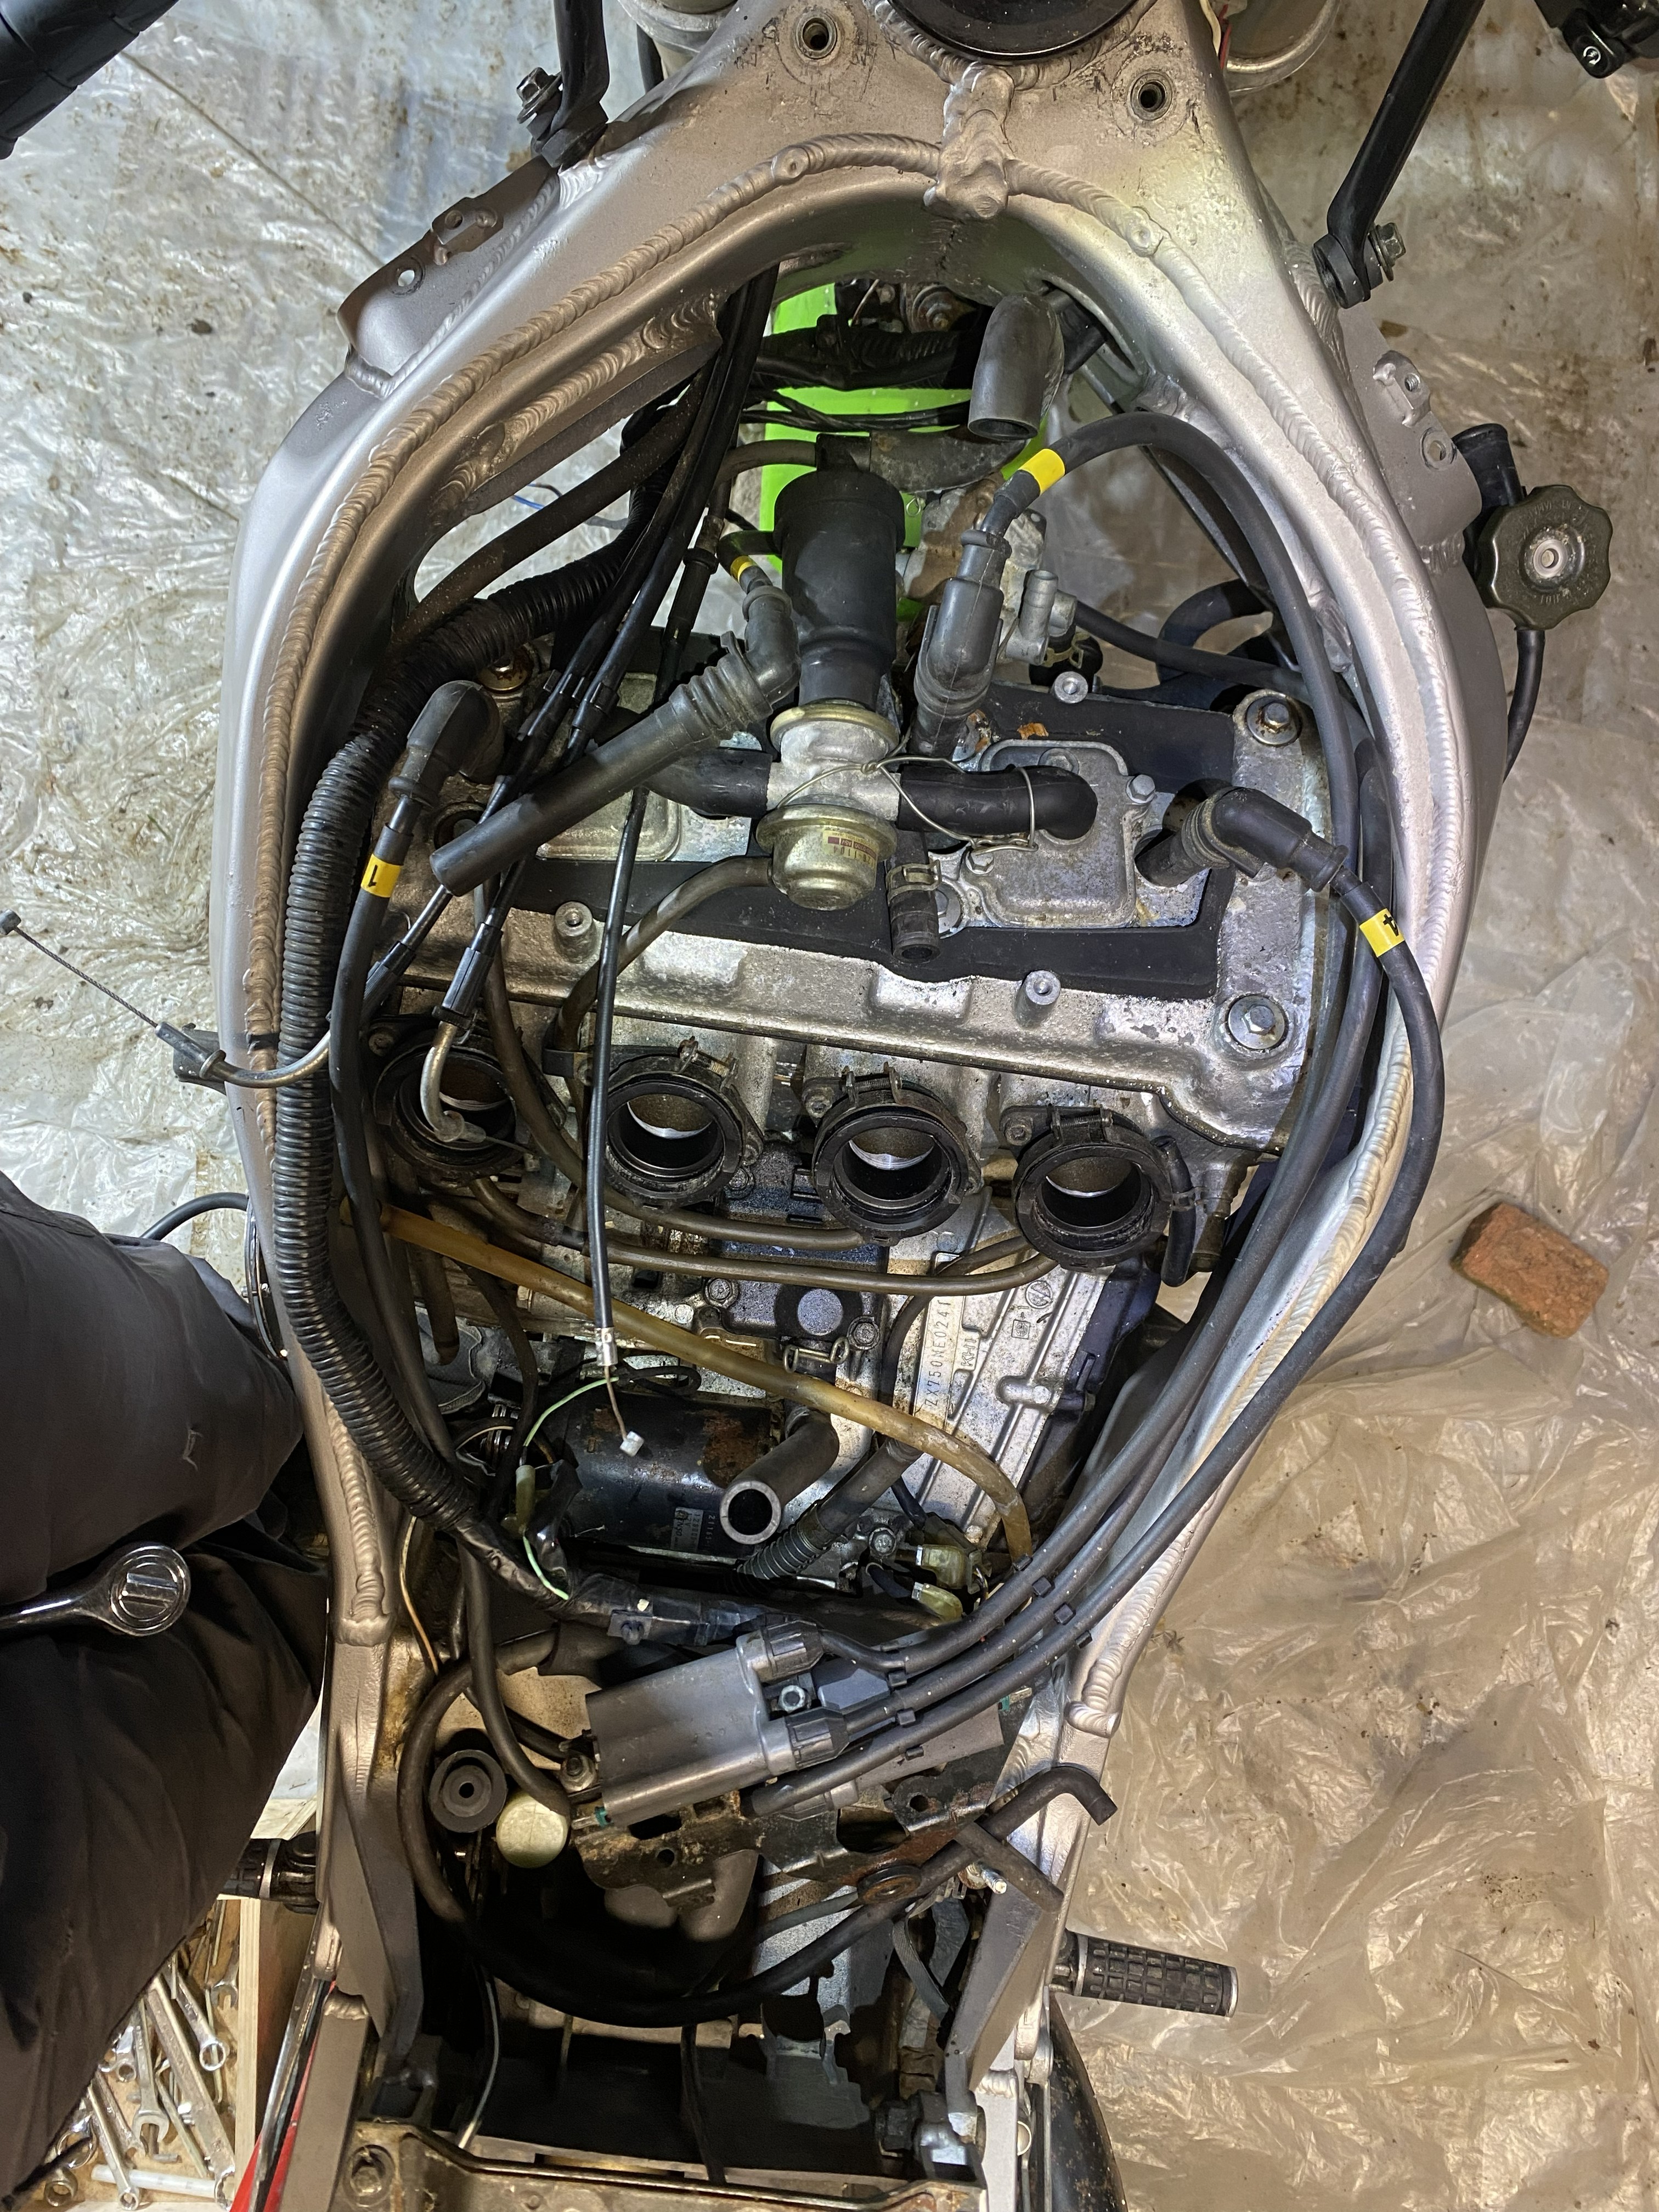
The engine area of the bike before disassembly.
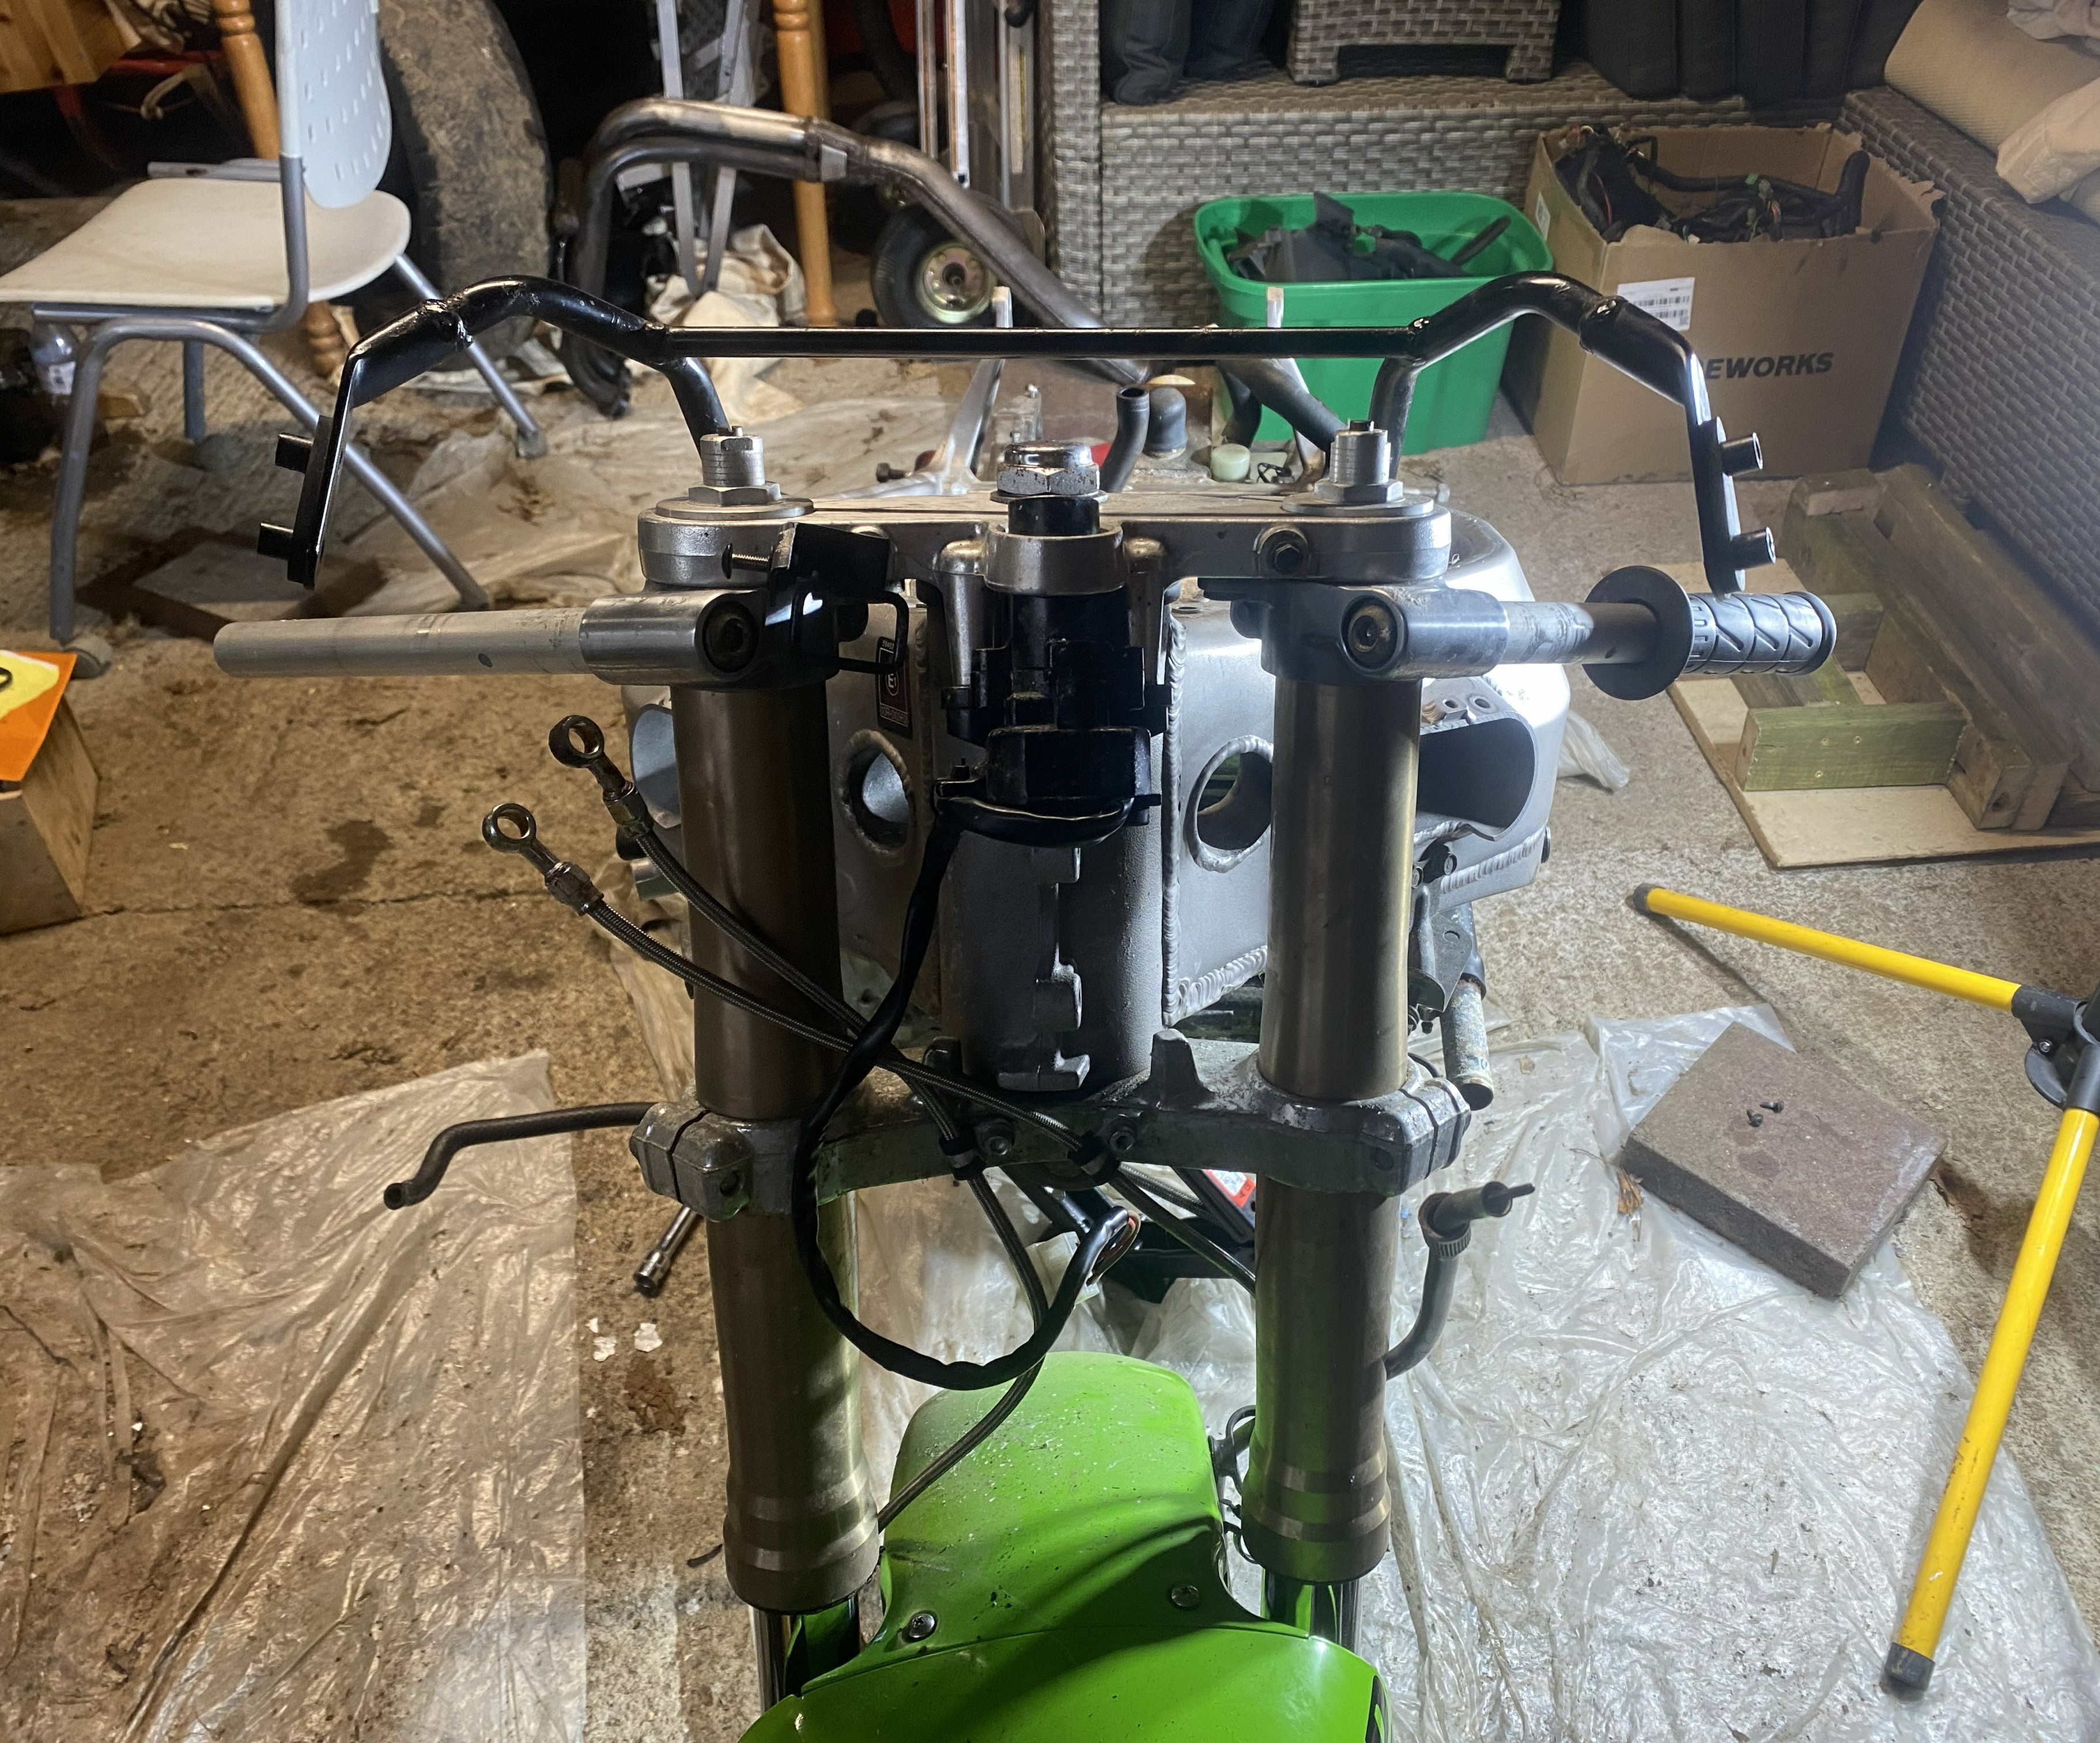
The front of the bike with most components removed.
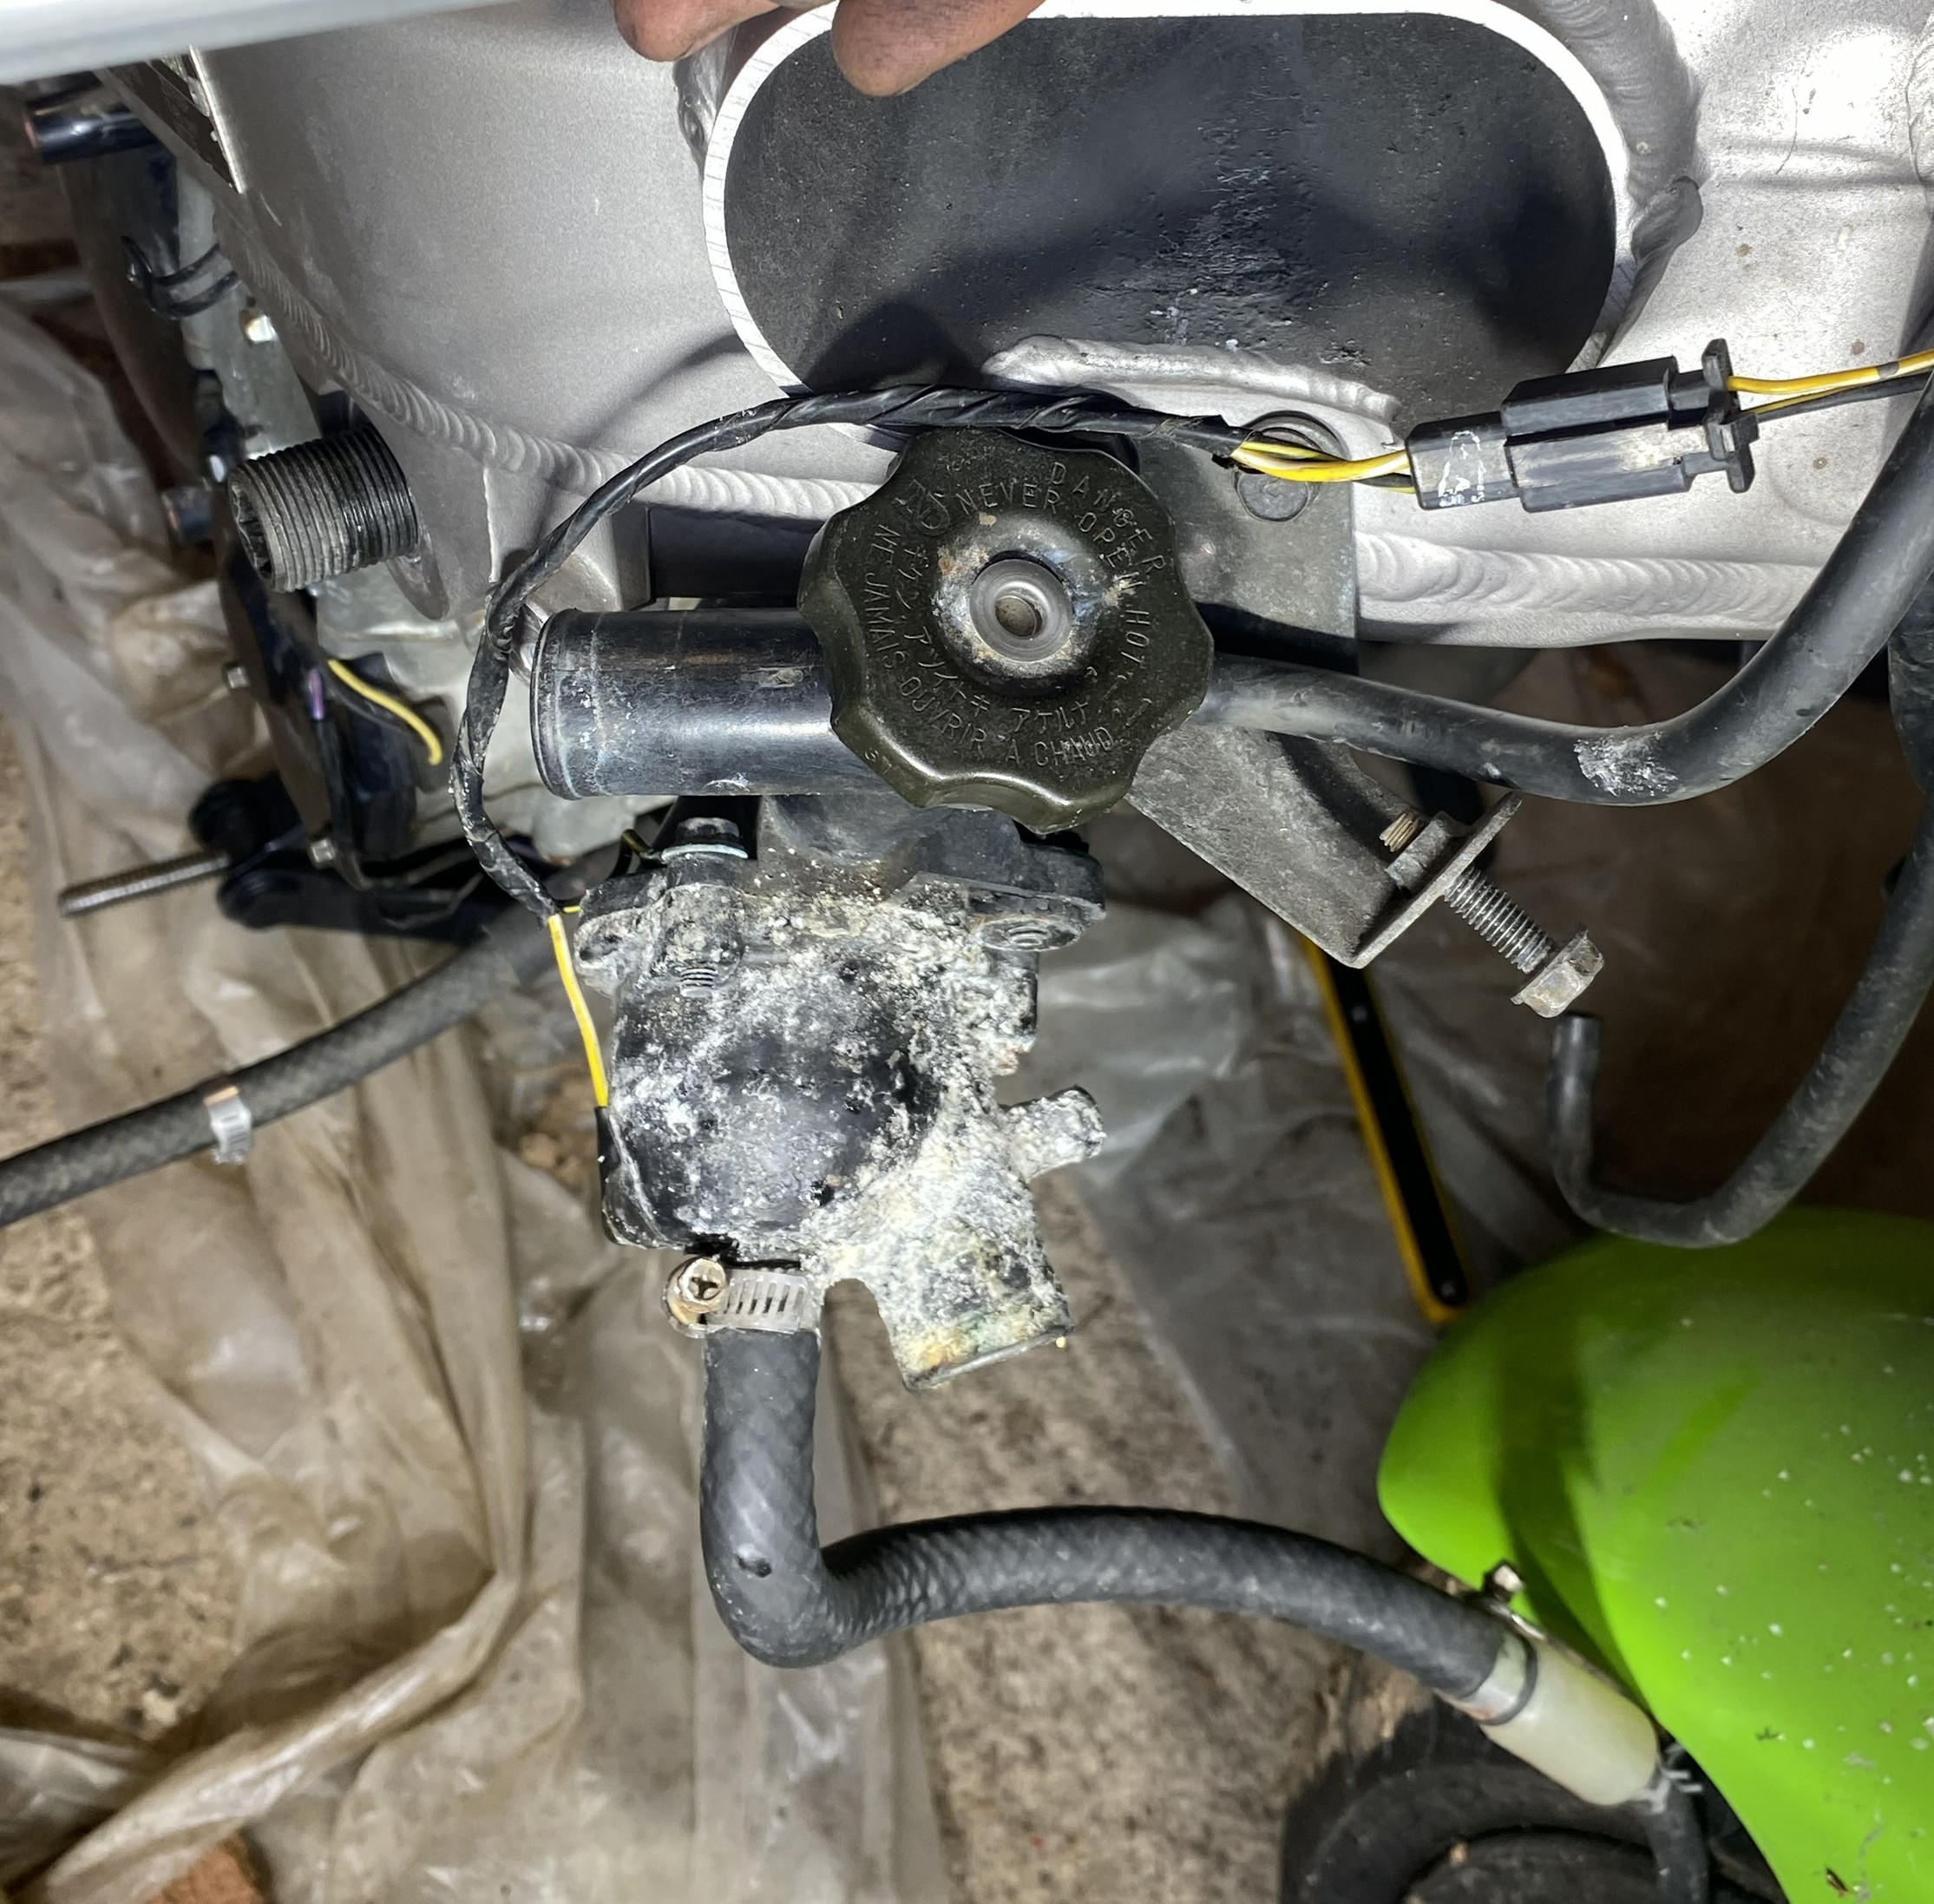
The thermostat housing on the bike.
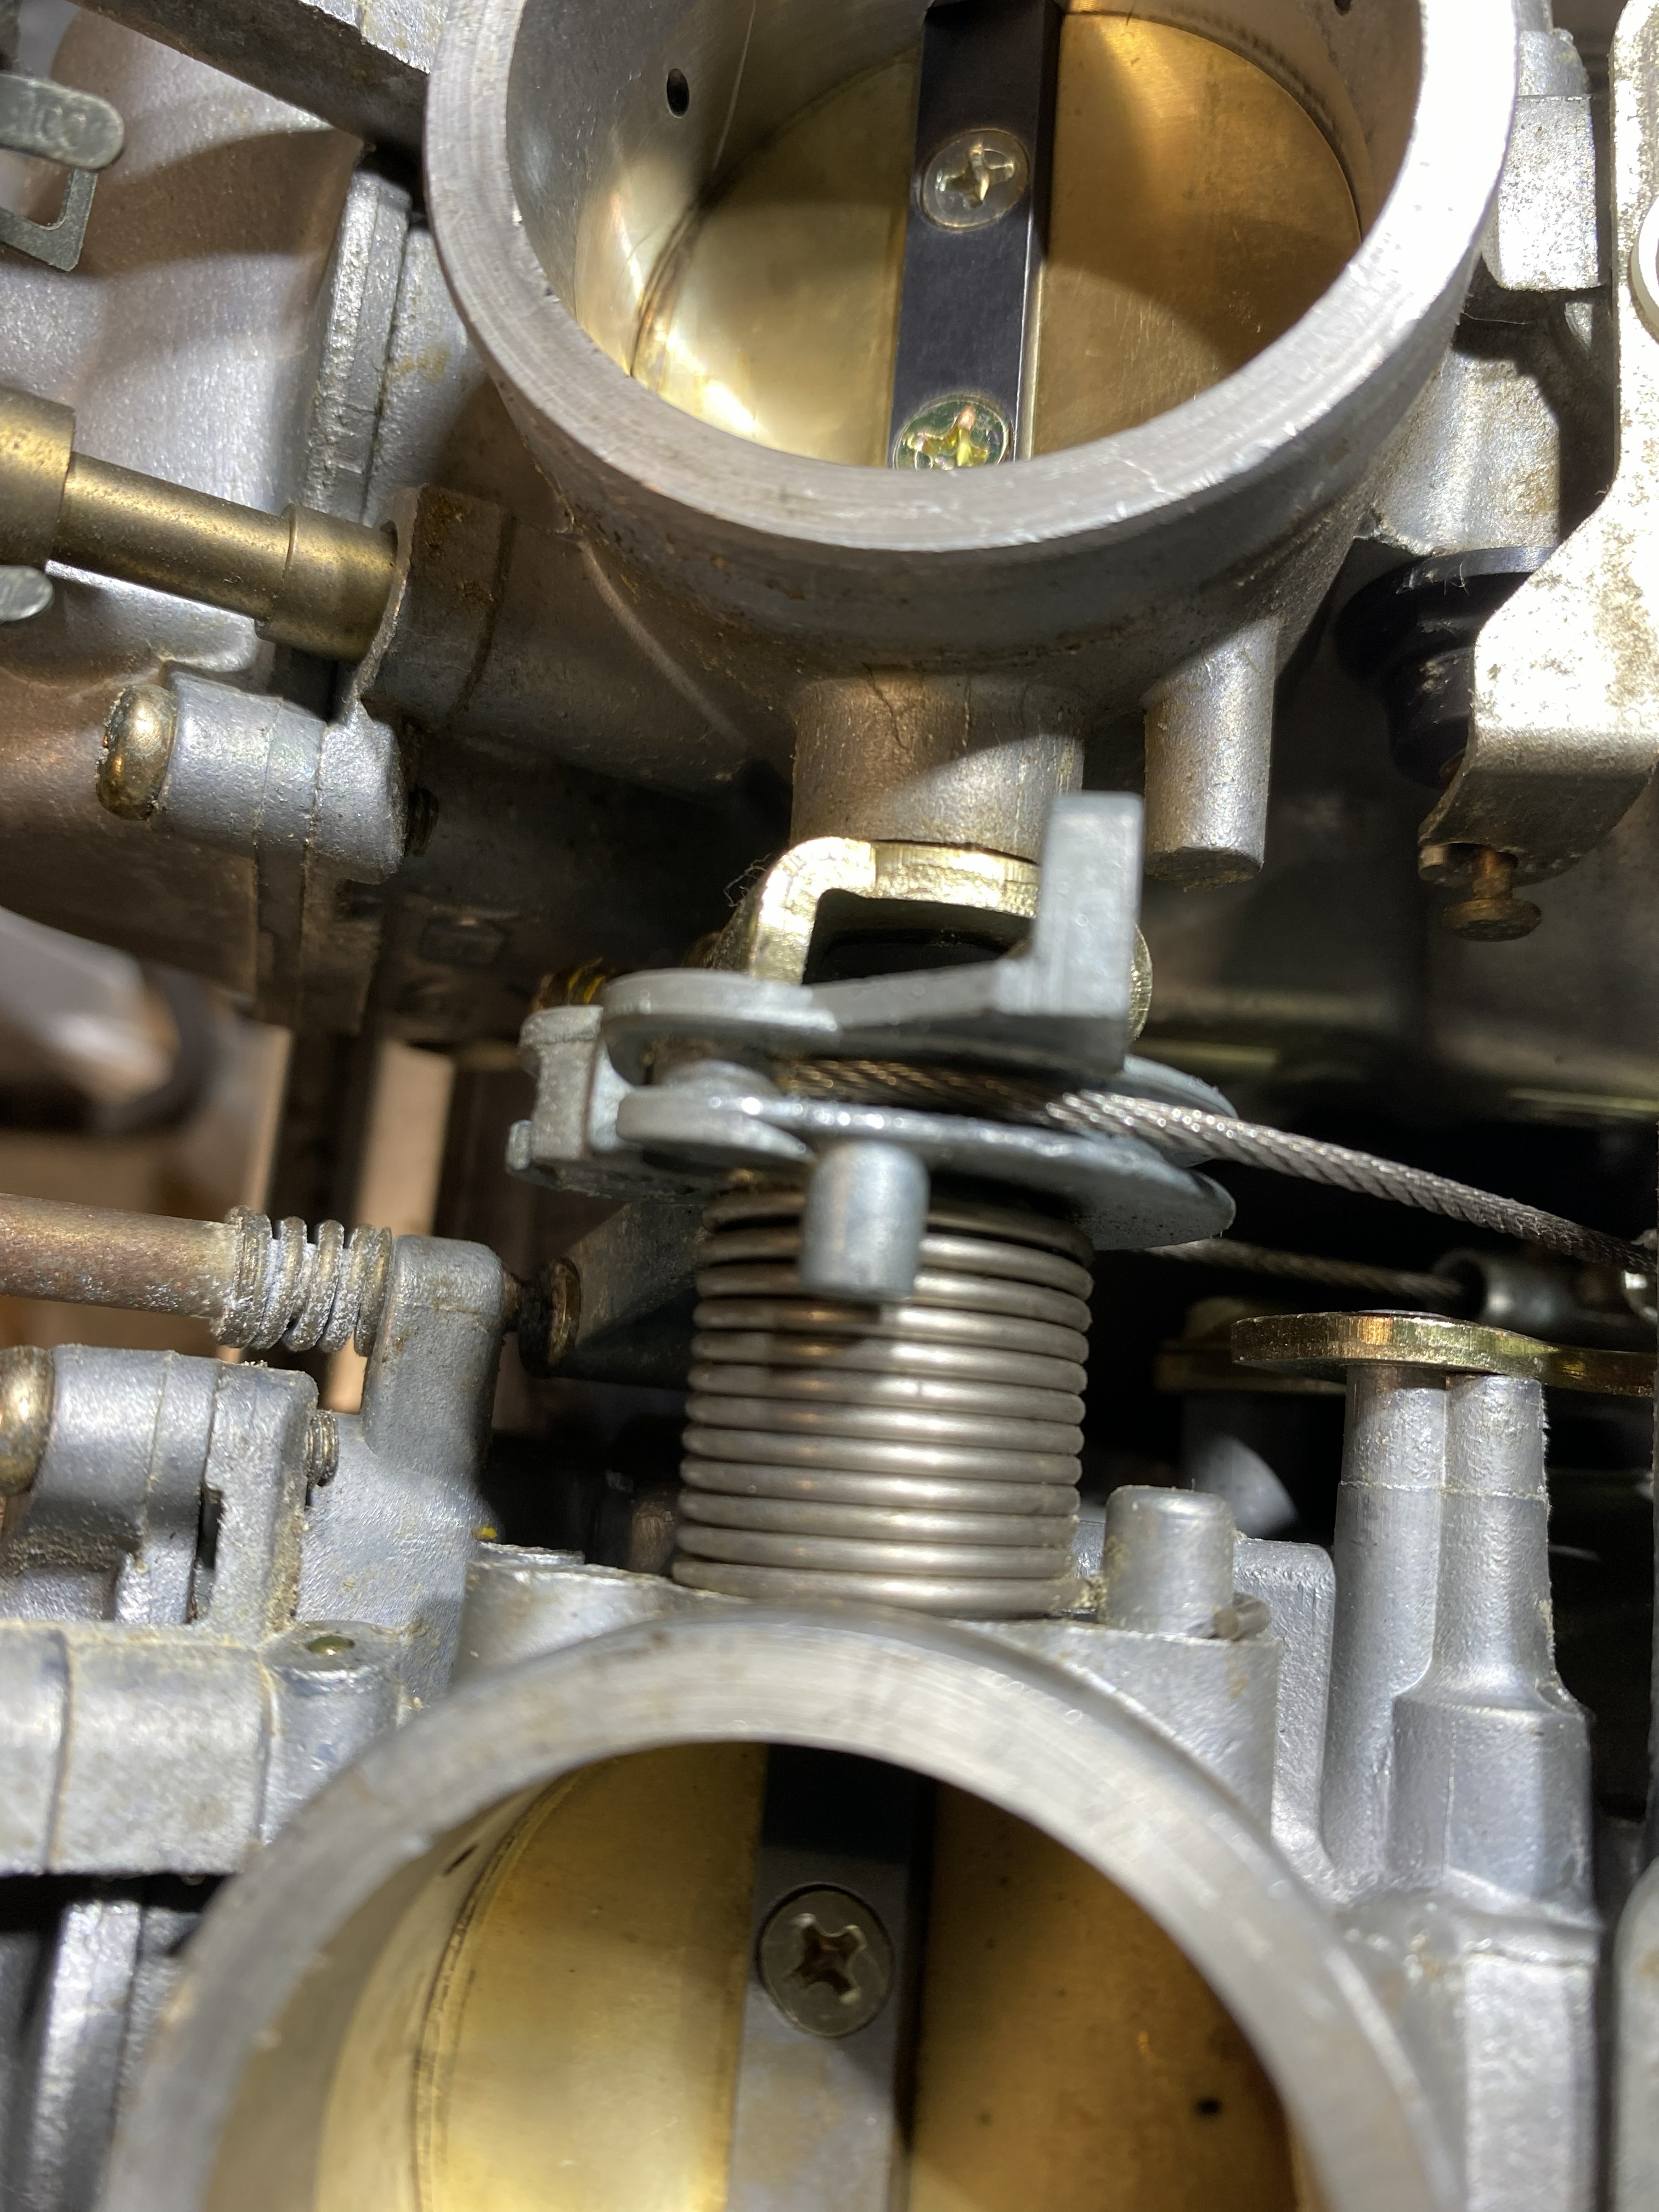
Up close view of the throttle cable on the carbs.
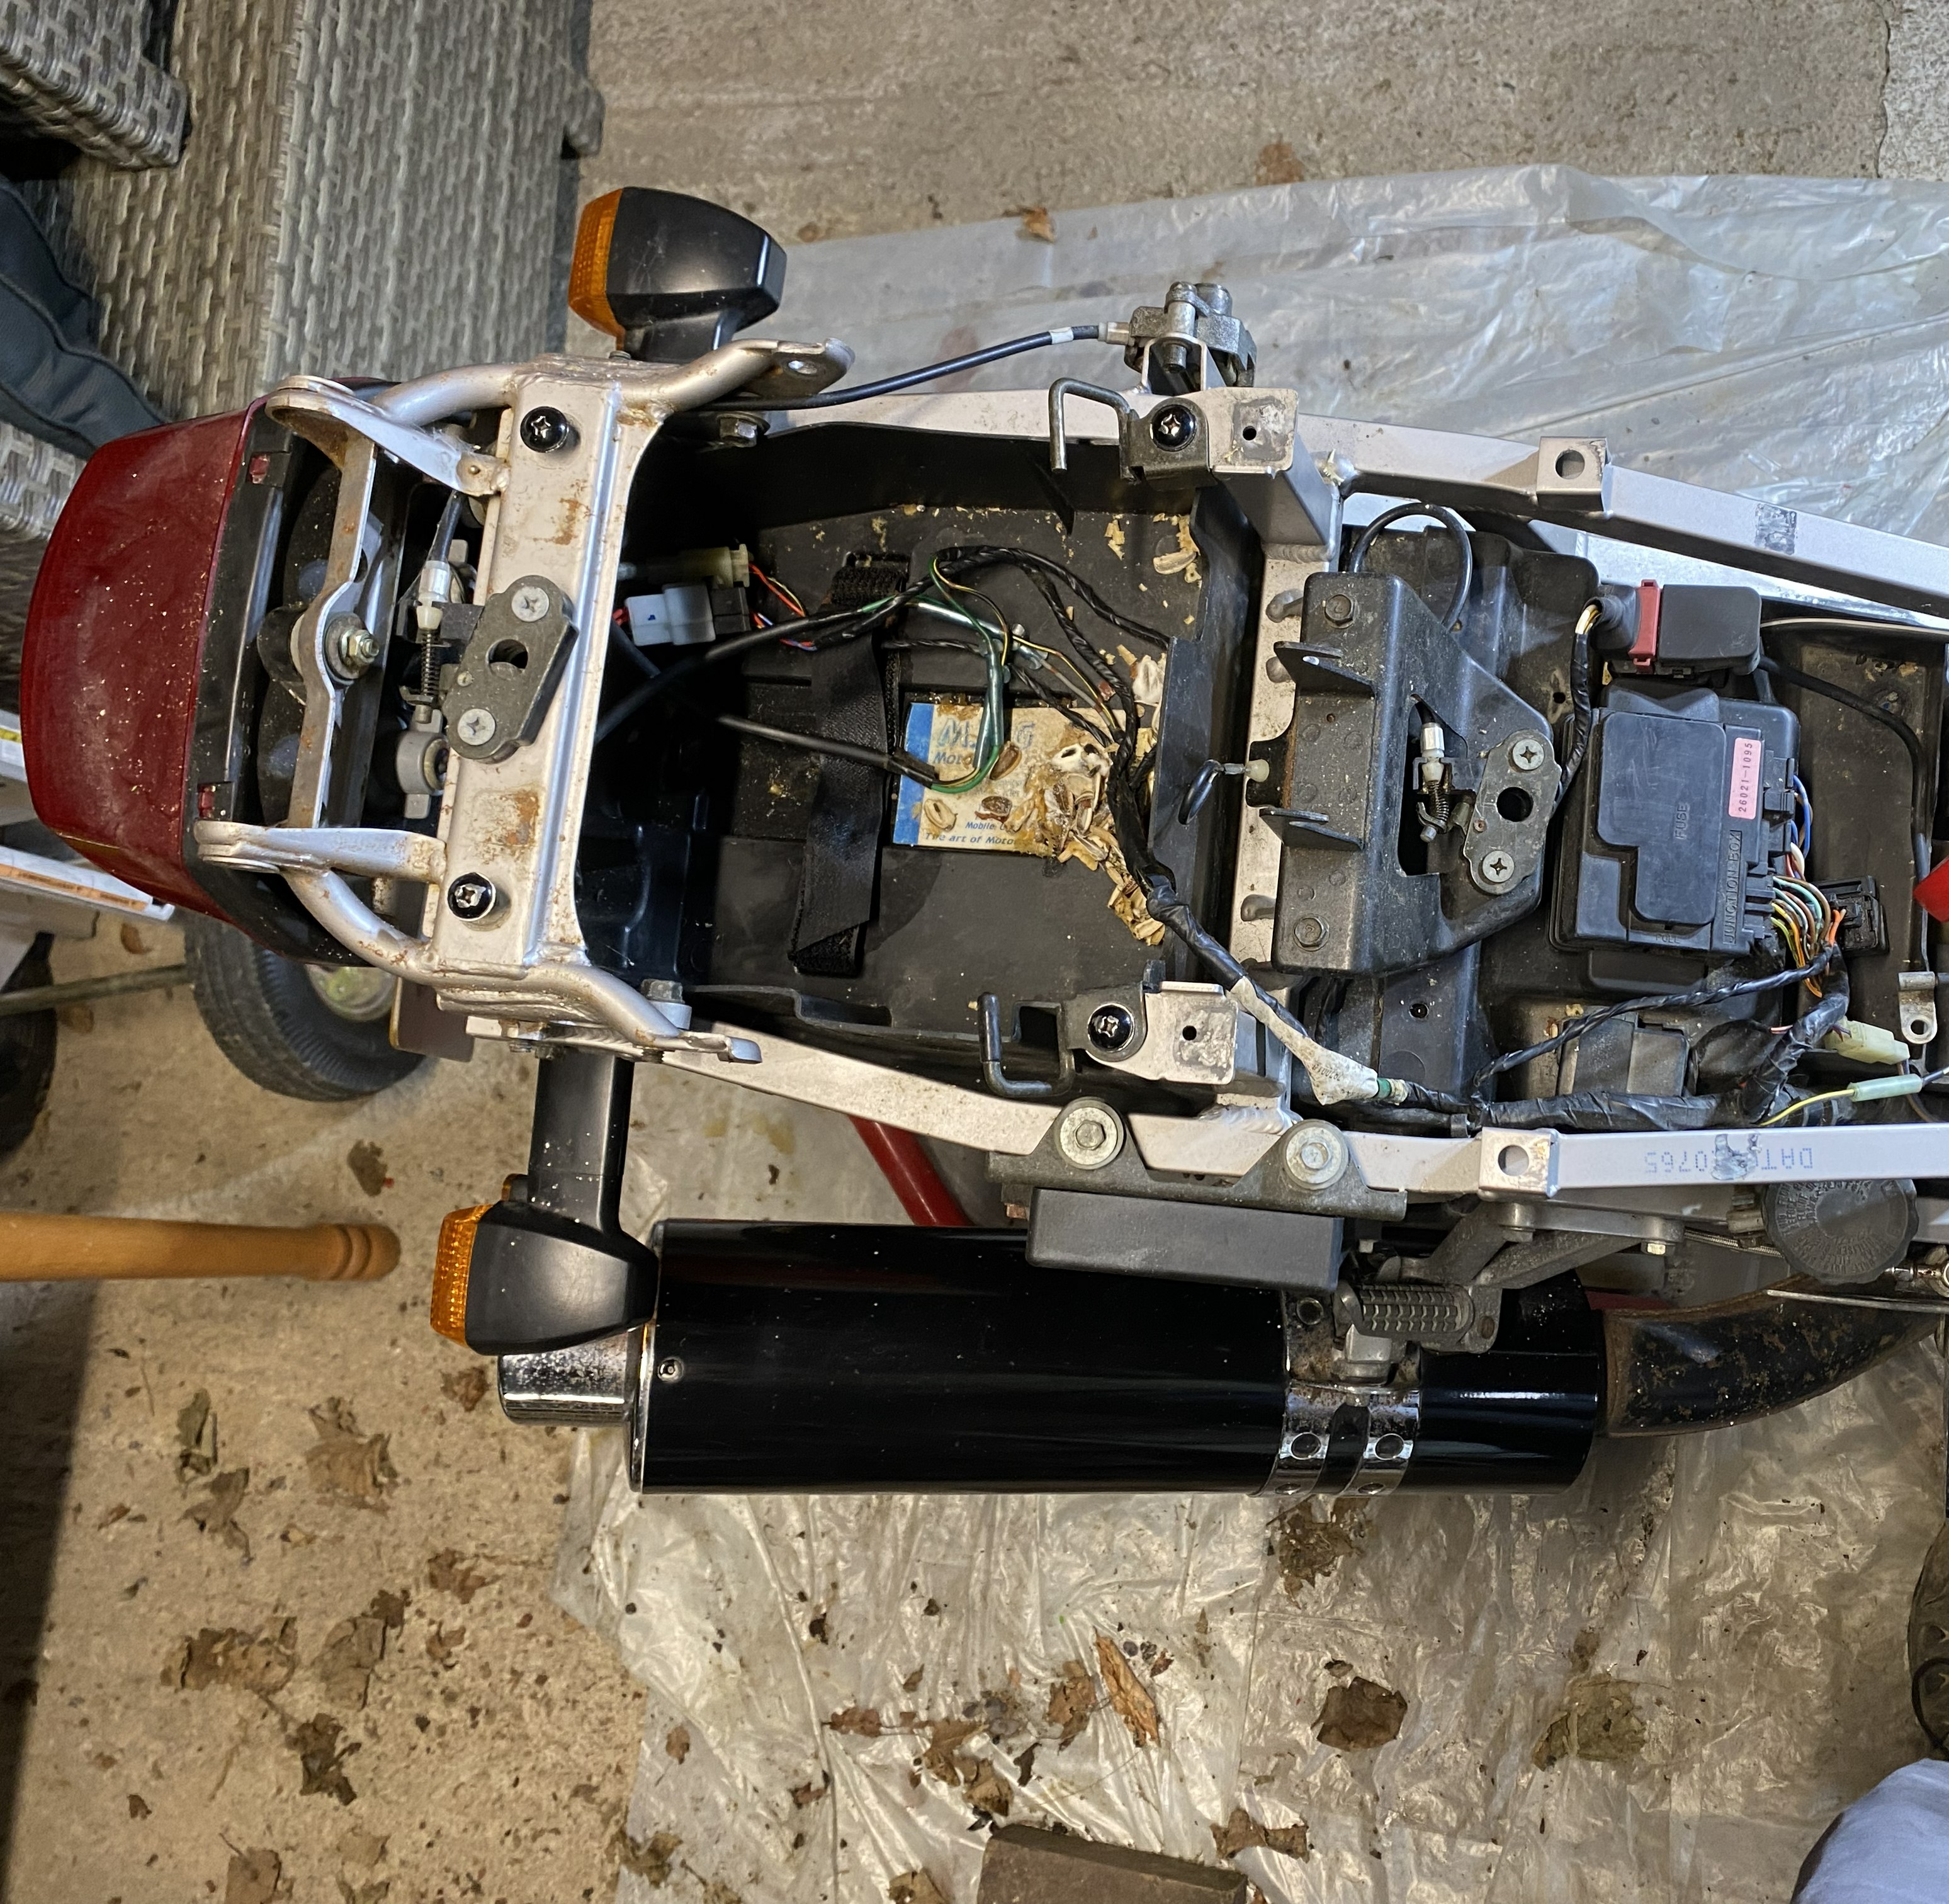
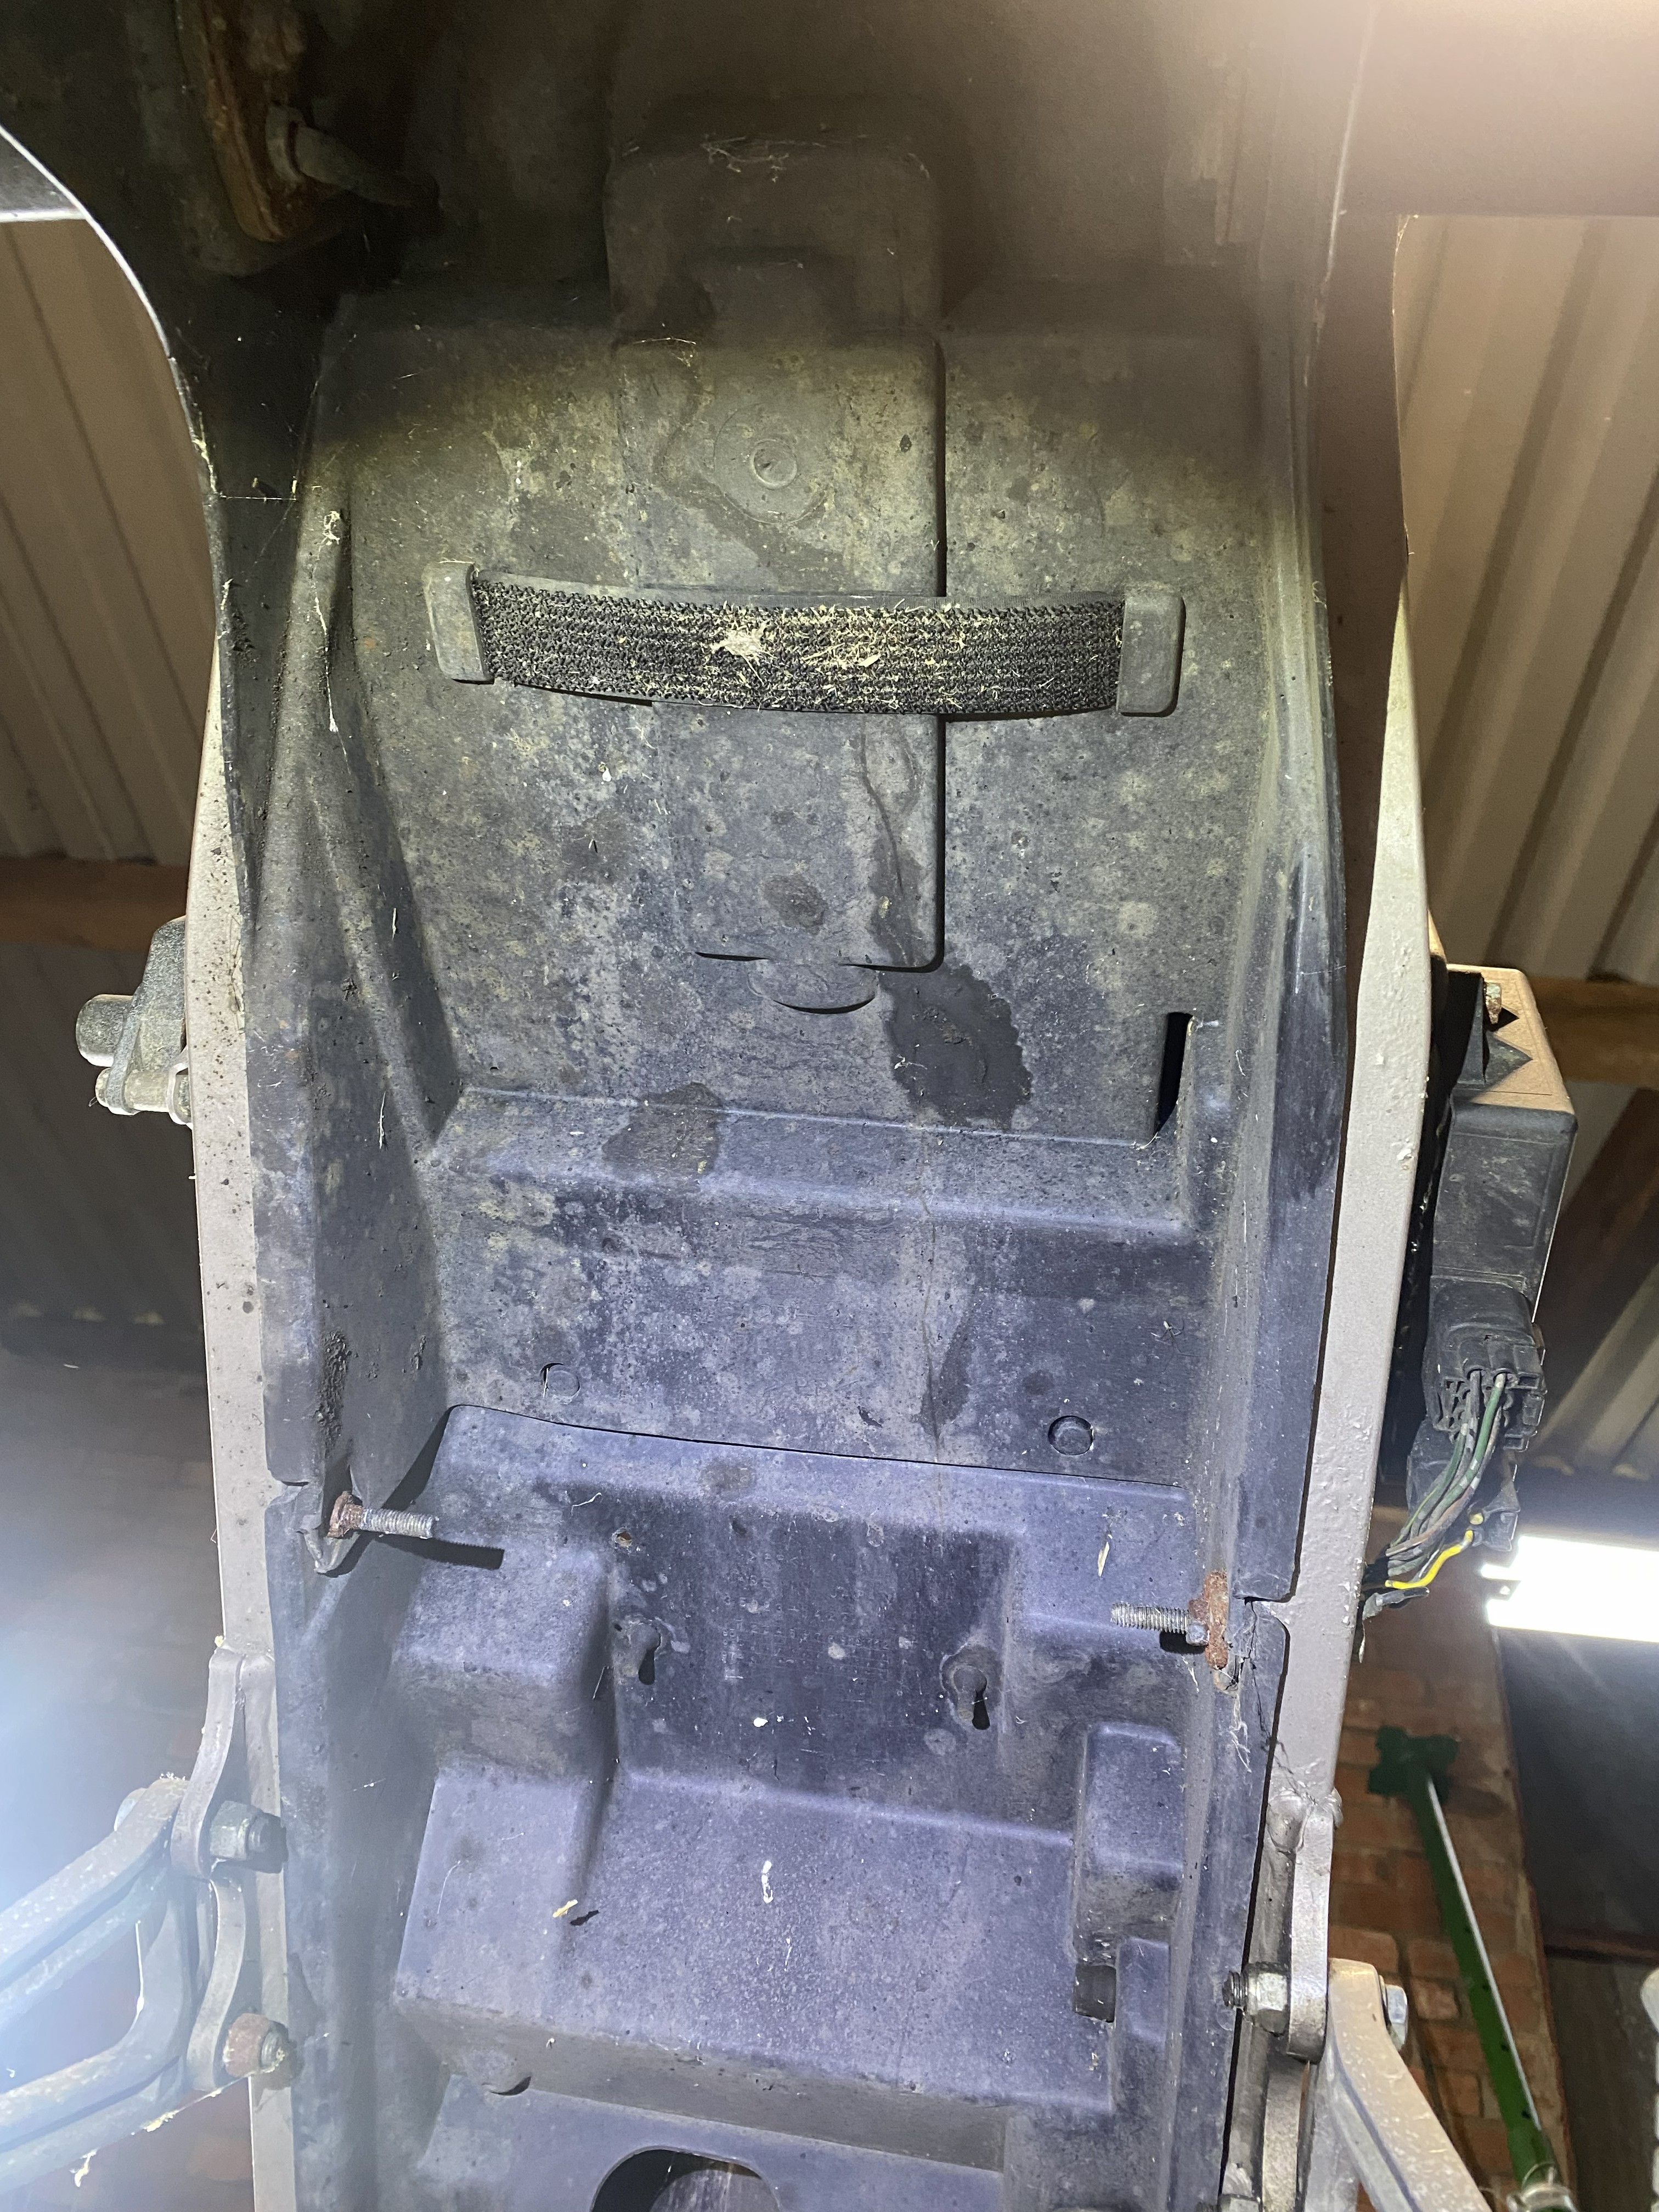
View of the rear area under the seats, where an animal must have made its nest.